Audit
An audit is a structured pass over your inventory that confirms what TheStorage thinks you own matches what's actually on desks, in stockrooms, and in pockets. Employees verify the devices assigned to them; administrators verify the rest. The result is an accurate ground-truth snapshot, an audit trail in the device history, and a short list of devices that need follow-up.
Most organisations run two or three full audits a year — typically before a fiscal year-end, after a large hardware refresh, or whenever the Missing count on the Dashboard starts climbing.
Create a New Audit
- Navigate to the Audit menu item on the sidebar.
- Click the + Create Audit button.
- Enter a unique Name for the audit (names cannot be reused across tenants).
- Select the Participating Tenants from the dropdown (one or multiple).
- Toggle Allow Self Verify to let employees confirm their own assigned devices.
- Click Save to create the audit.
Audit Tiles
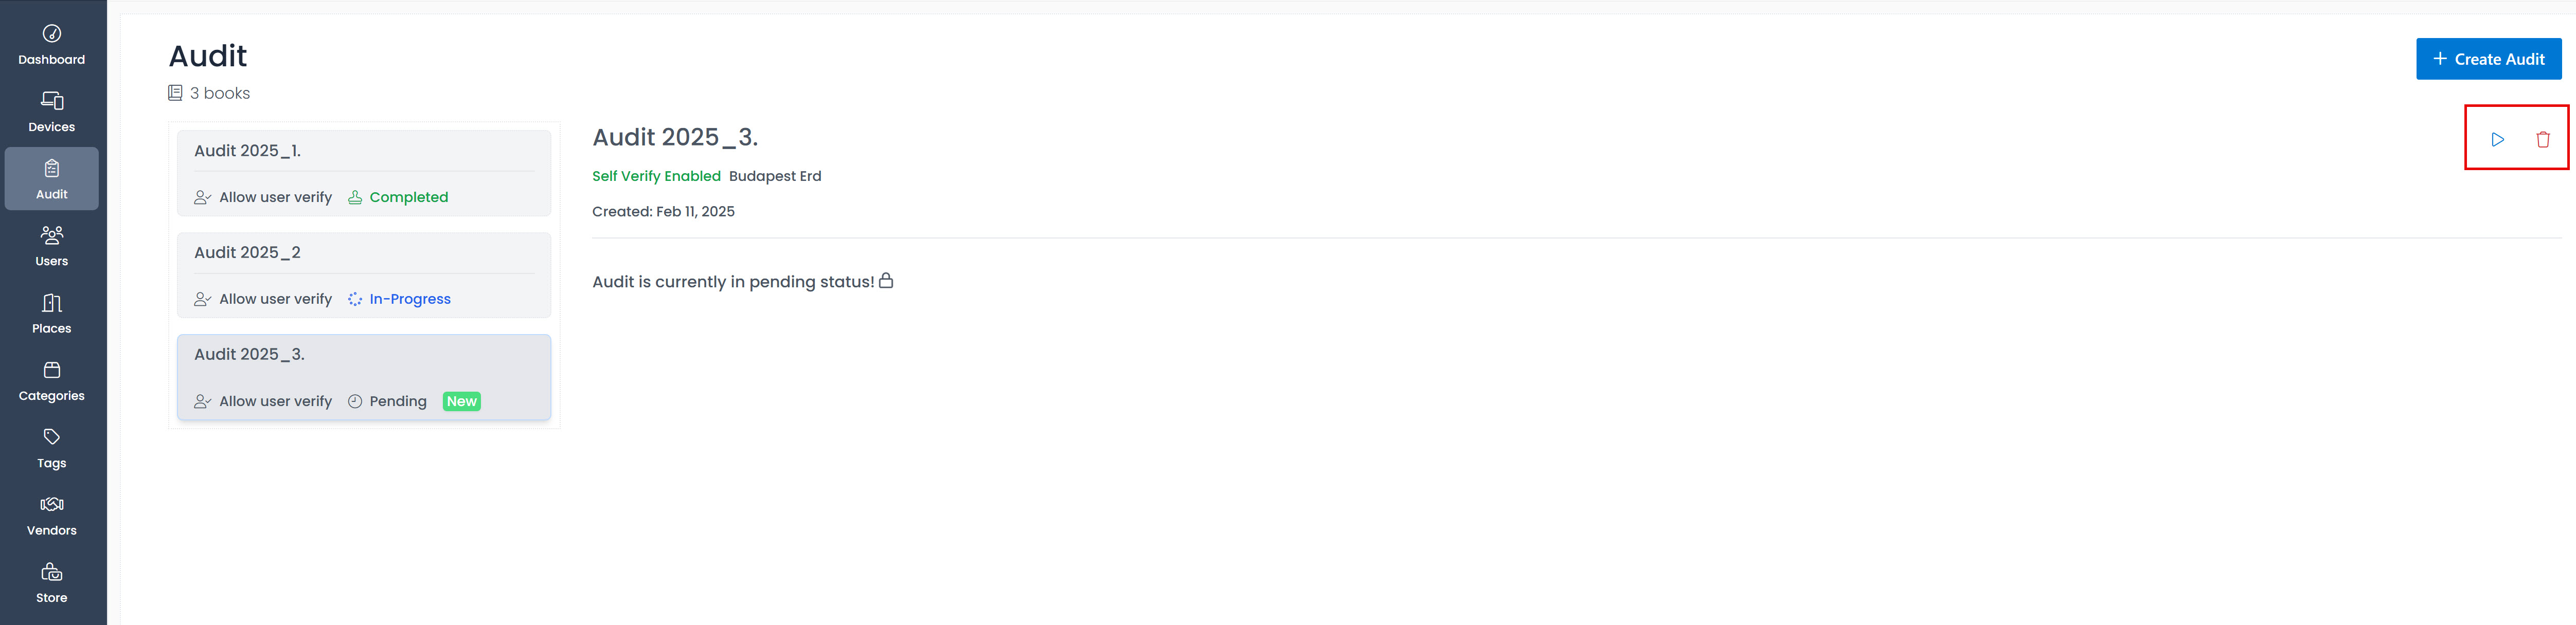
Each audit is displayed as a tile with its current status:
| Status | Description |
|---|---|
| New | Audit created but not yet started. Use the play icon to begin. |
| In Progress | Audit is currently active and accepting verifications. |
| Completed | Audit has been closed with a completion date shown. |
Only one audit per tenant can be in progress at a time.
Employee Self-Verification
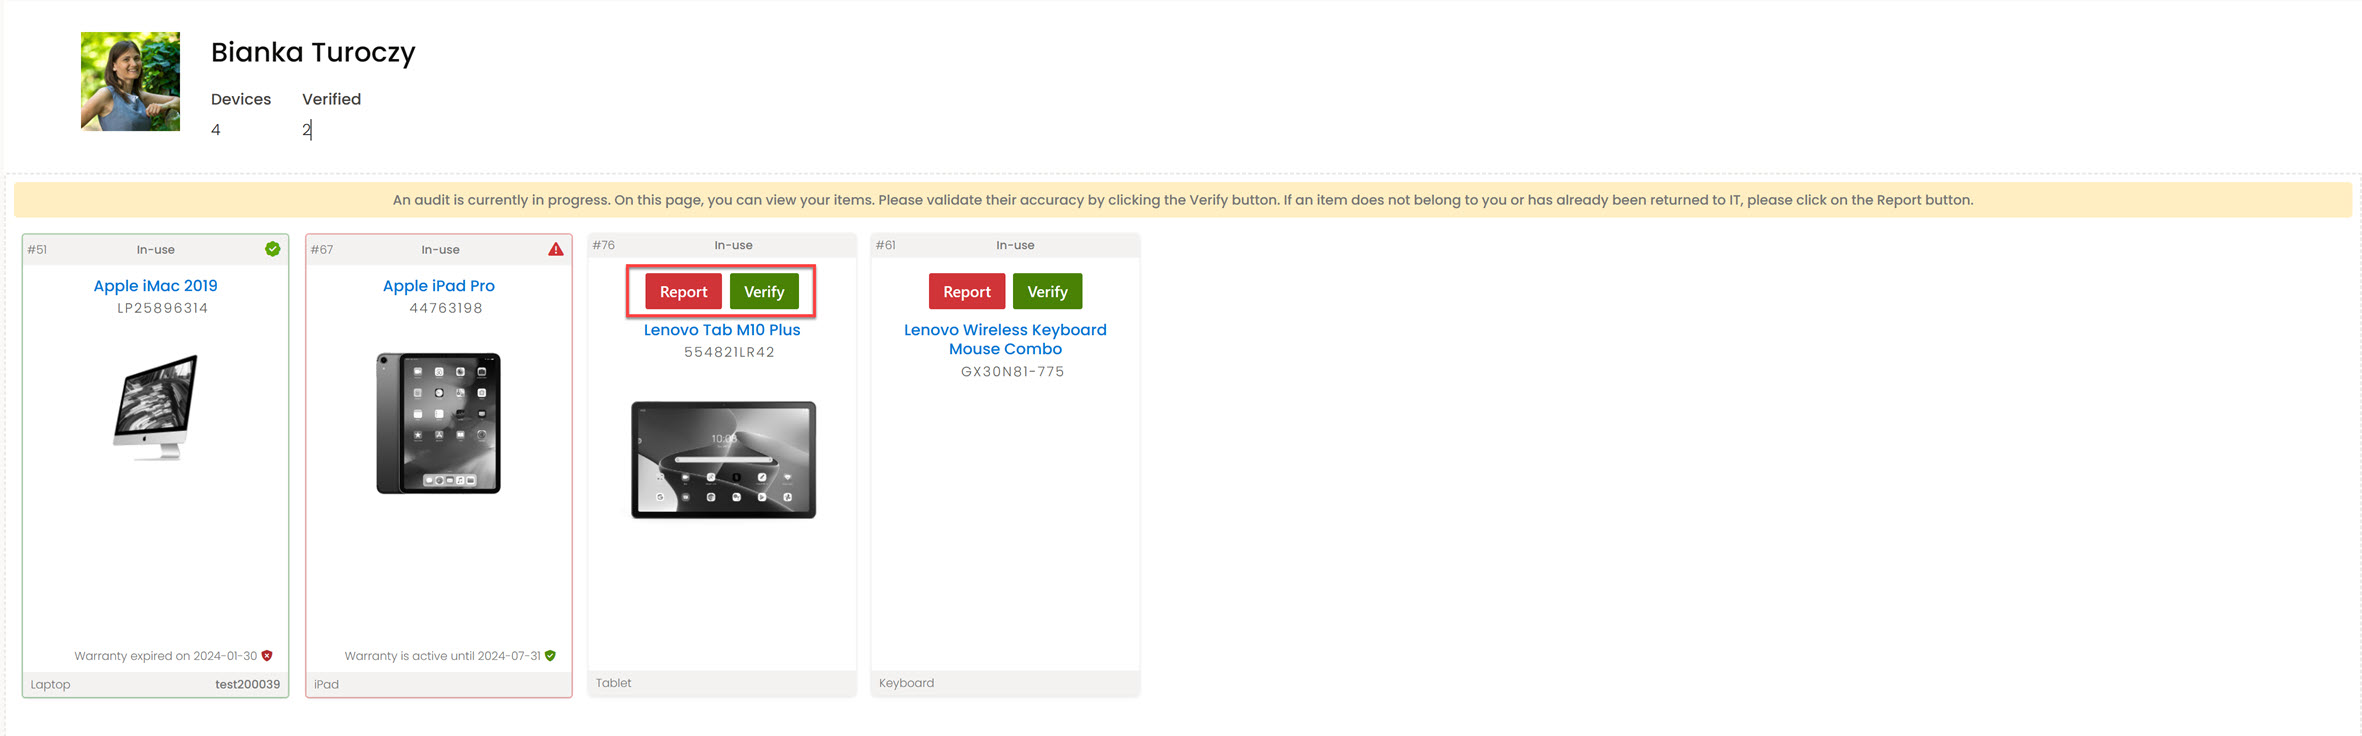
When Allow Self Verify is enabled, employees can review their assigned devices on their user page during an open audit:
- Click Verify to confirm a device is correct (green checkmark appears).
- Click Report to flag a problematic device, selecting from: Ownership, Do not need, Damaged, Lost, or Other. An optional comment can be added.
Audit Page


When an audit is in progress, the audit page displays:
- Audit name, tenant, and creation date at the top.
- Search bar — Look up devices by barcode or serial number and verify them.
- Scan button — Use a mobile phone camera or barcode scanner for quick verification.
- Verification summary — Total verified devices, broken down by employees, places, IT, and store.
- Show unverified devices — Toggle to highlight devices that have not yet been verified.
- Device list with columns: Tenant, Device name, Barcode, Serial number, Assigned to, Department, Auditor, Reported issue, Self checked, Verified date.
- Export to Excel — Download the complete audit list as an Excel file.
- Close audit — Use the red seal icon to finalize the audit.
Audit Workflow
- Create a new audit and click the play icon to start it.
- Search for devices using barcode or serial number — or scan one with the Scan button.
- Verify each device after inspection. Use the red bin icon to undo a verification if you've ticked the wrong one.
- Close the audit using the red seal icon once every device has been processed.
Devices you've personally verified during the audit show up on your own user page just like any other assigned device — see Employee Self Service for the administrator view.