Getting Started
Welcome to TheStorage — the cloud IT Asset Management platform for teams that want to know, at any moment, what hardware and software they own, where it is, and who's using it.
This guide gets you from a fresh account to a working inventory. There's no server to install and no database to configure: sign in, pick a starter template, and you're tracking devices.
What you'll have when you're done
- A tenant secured with your corporate identity provider.
- A starter inventory template matched to how your company works.
- A live Dashboard ready to populate.
- A clear next step for adding or importing your first batch of devices.
Before you begin
You need two things — that's it.
| Requirement | Notes |
|---|---|
| A modern browser | Recent Chrome, Edge, Firefox, or Safari. |
| An SSO account | Microsoft Entra (Azure AD / Office 365) or Google Workspace. Personal Microsoft or Google accounts work for evaluation. |
Signing in with your organization's SSO syncs your colleagues into the Users page automatically, so you can start assigning devices to real people from day one. Personal accounts work fine for exploring the product, but switching later means re-creating users by hand.
Step 1 — Sign in
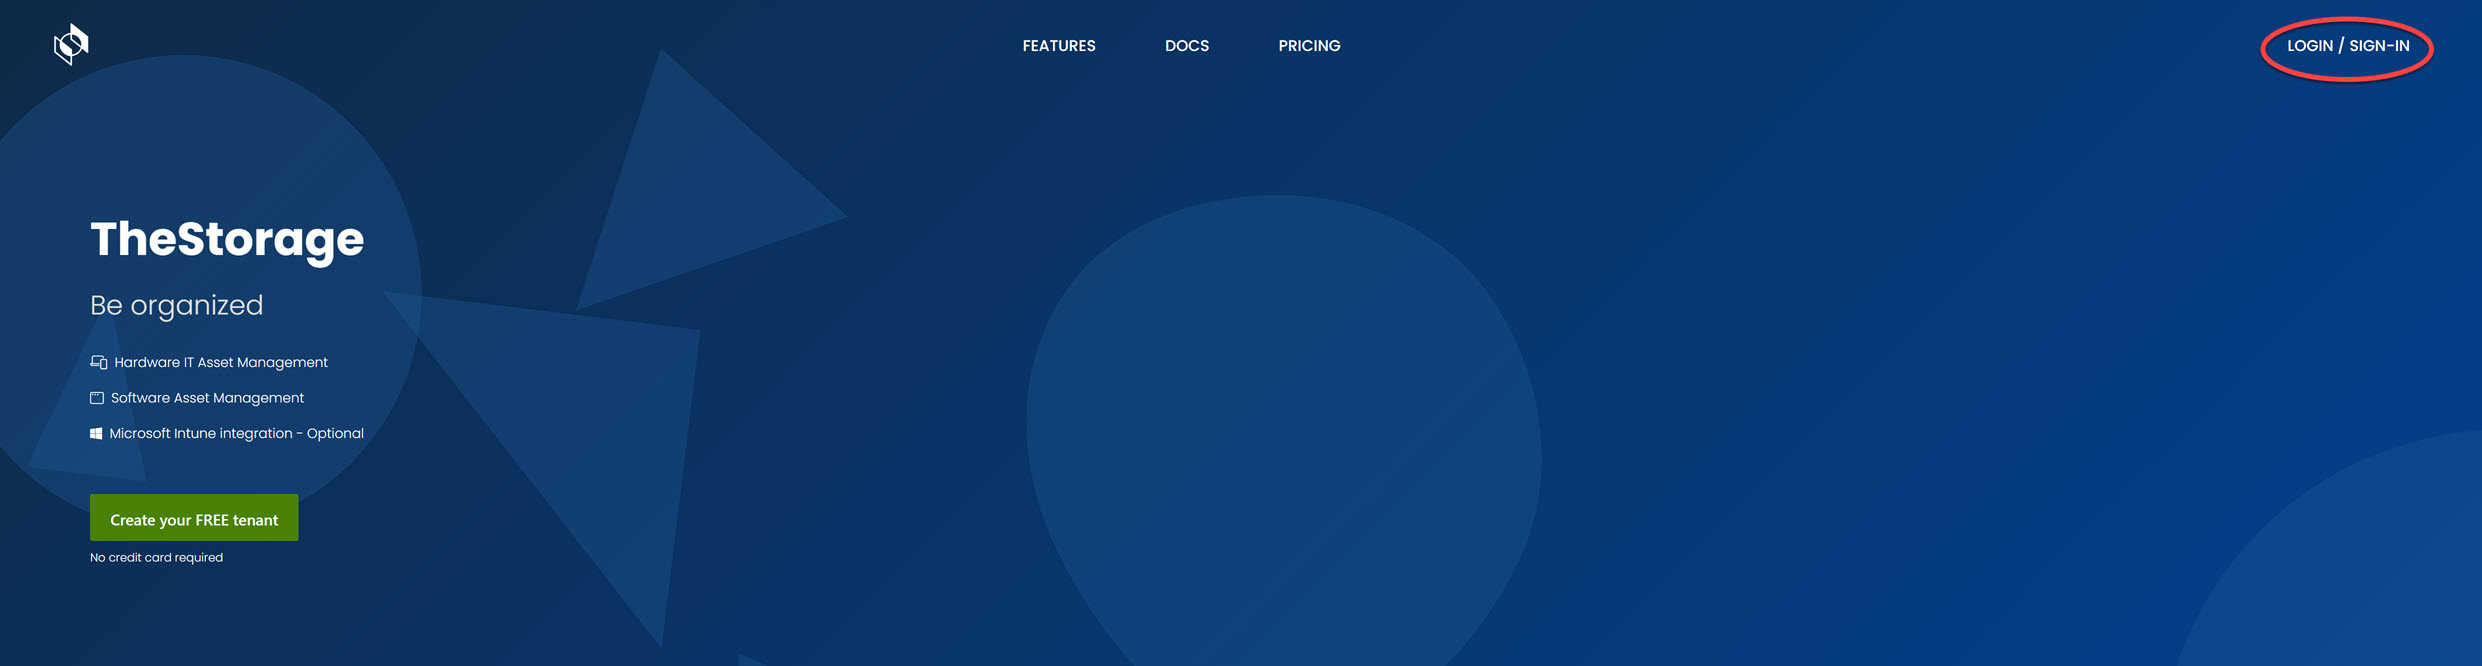
-
Open https://thestorage.app and click Sign In in the top-right corner.
-
Choose your identity provider:
- Microsoft Entra — for organizations using Microsoft 365 / Azure AD.
- Google — for organizations using Google Workspace.

-
Complete the SSO prompt. First-time sign-ins may ask for admin consent if your organization requires it.
Step 2 — Create your tenant
A tenant is your isolated workspace. Devices, places, and settings live inside one tenant and never cross into another unless you explicitly move them.
Fill in three fields:
| Field | Purpose | Example |
|---|---|---|
| Tenant name | Globally unique identifier — becomes part of your URL and cannot be changed later. Letters and digits only, no spaces. | acmecorp |
| Workspace name | The default logical group inside the tenant — usually a location or department. | London or Engineering |
| Region | Where your data is physically stored. Pick the region closest to your HQ for best performance. Region changes after creation require a support ticket. | West Europe |
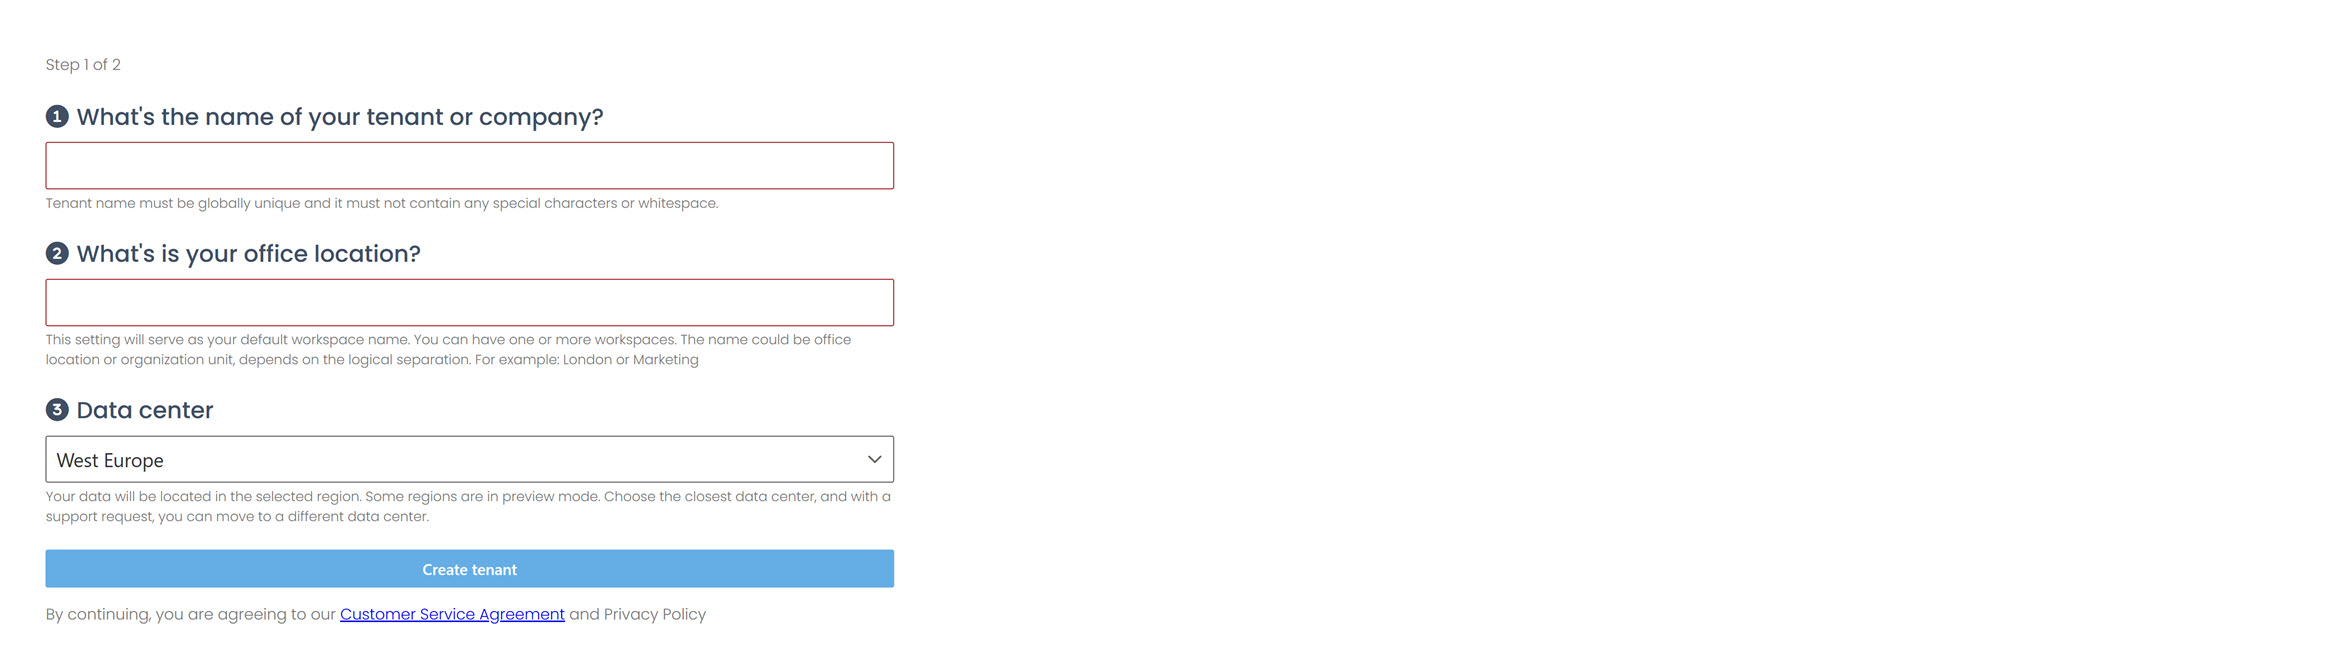
Your tenant name becomes part of every URL (https://thestorage.app/acmecorp/...) and cannot be renamed once the tenant exists. Choose something durable — your company short-name is usually a safer bet than a project codename.
Step 3 — Choose a starter template
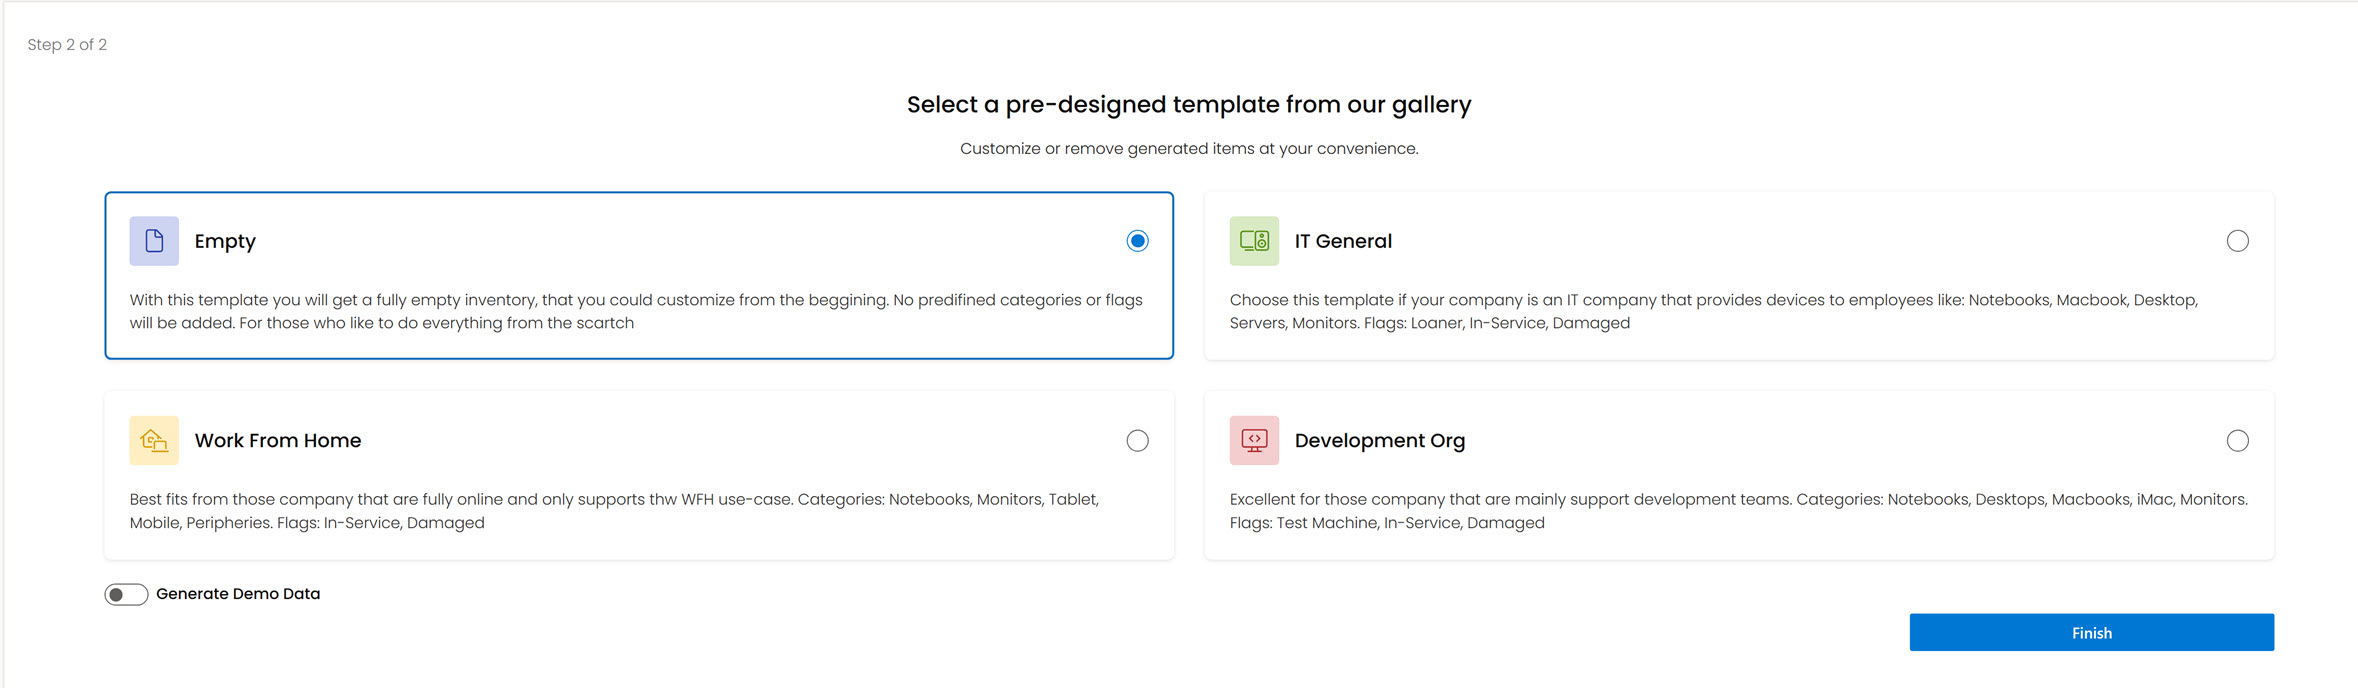
Templates pre-seed common categories (Laptop, Monitor, Mobile…) and a handful of starter tags so you're not staring at an empty inventory. Pick the one closest to how your organization works — you can rename, remove, or add to anything later.
| Template | Best for | Pre-seeded categories |
|---|---|---|
| Empty | You want total control and will configure everything yourself. | — |
| Work from Home | Remote-first companies distributing home-office kits. | Notebook, Monitor, Tablet, Mobile, Peripherals |
| IT General | Classic IT departments managing corporate hardware. | Notebook, MacBook, Desktop, Server, Monitor |
| Development Org | Engineering / product teams with mixed hardware. | Notebook, MacBook, Desktop, iMac, Monitor |
Toggle Generate demo data to pre-load a handful of sample devices. It's the fastest way to see what the Dashboard, Devices, and Users pages look like with real-looking content. One click on the Devices page removes the demo data when you're ready to start for real.
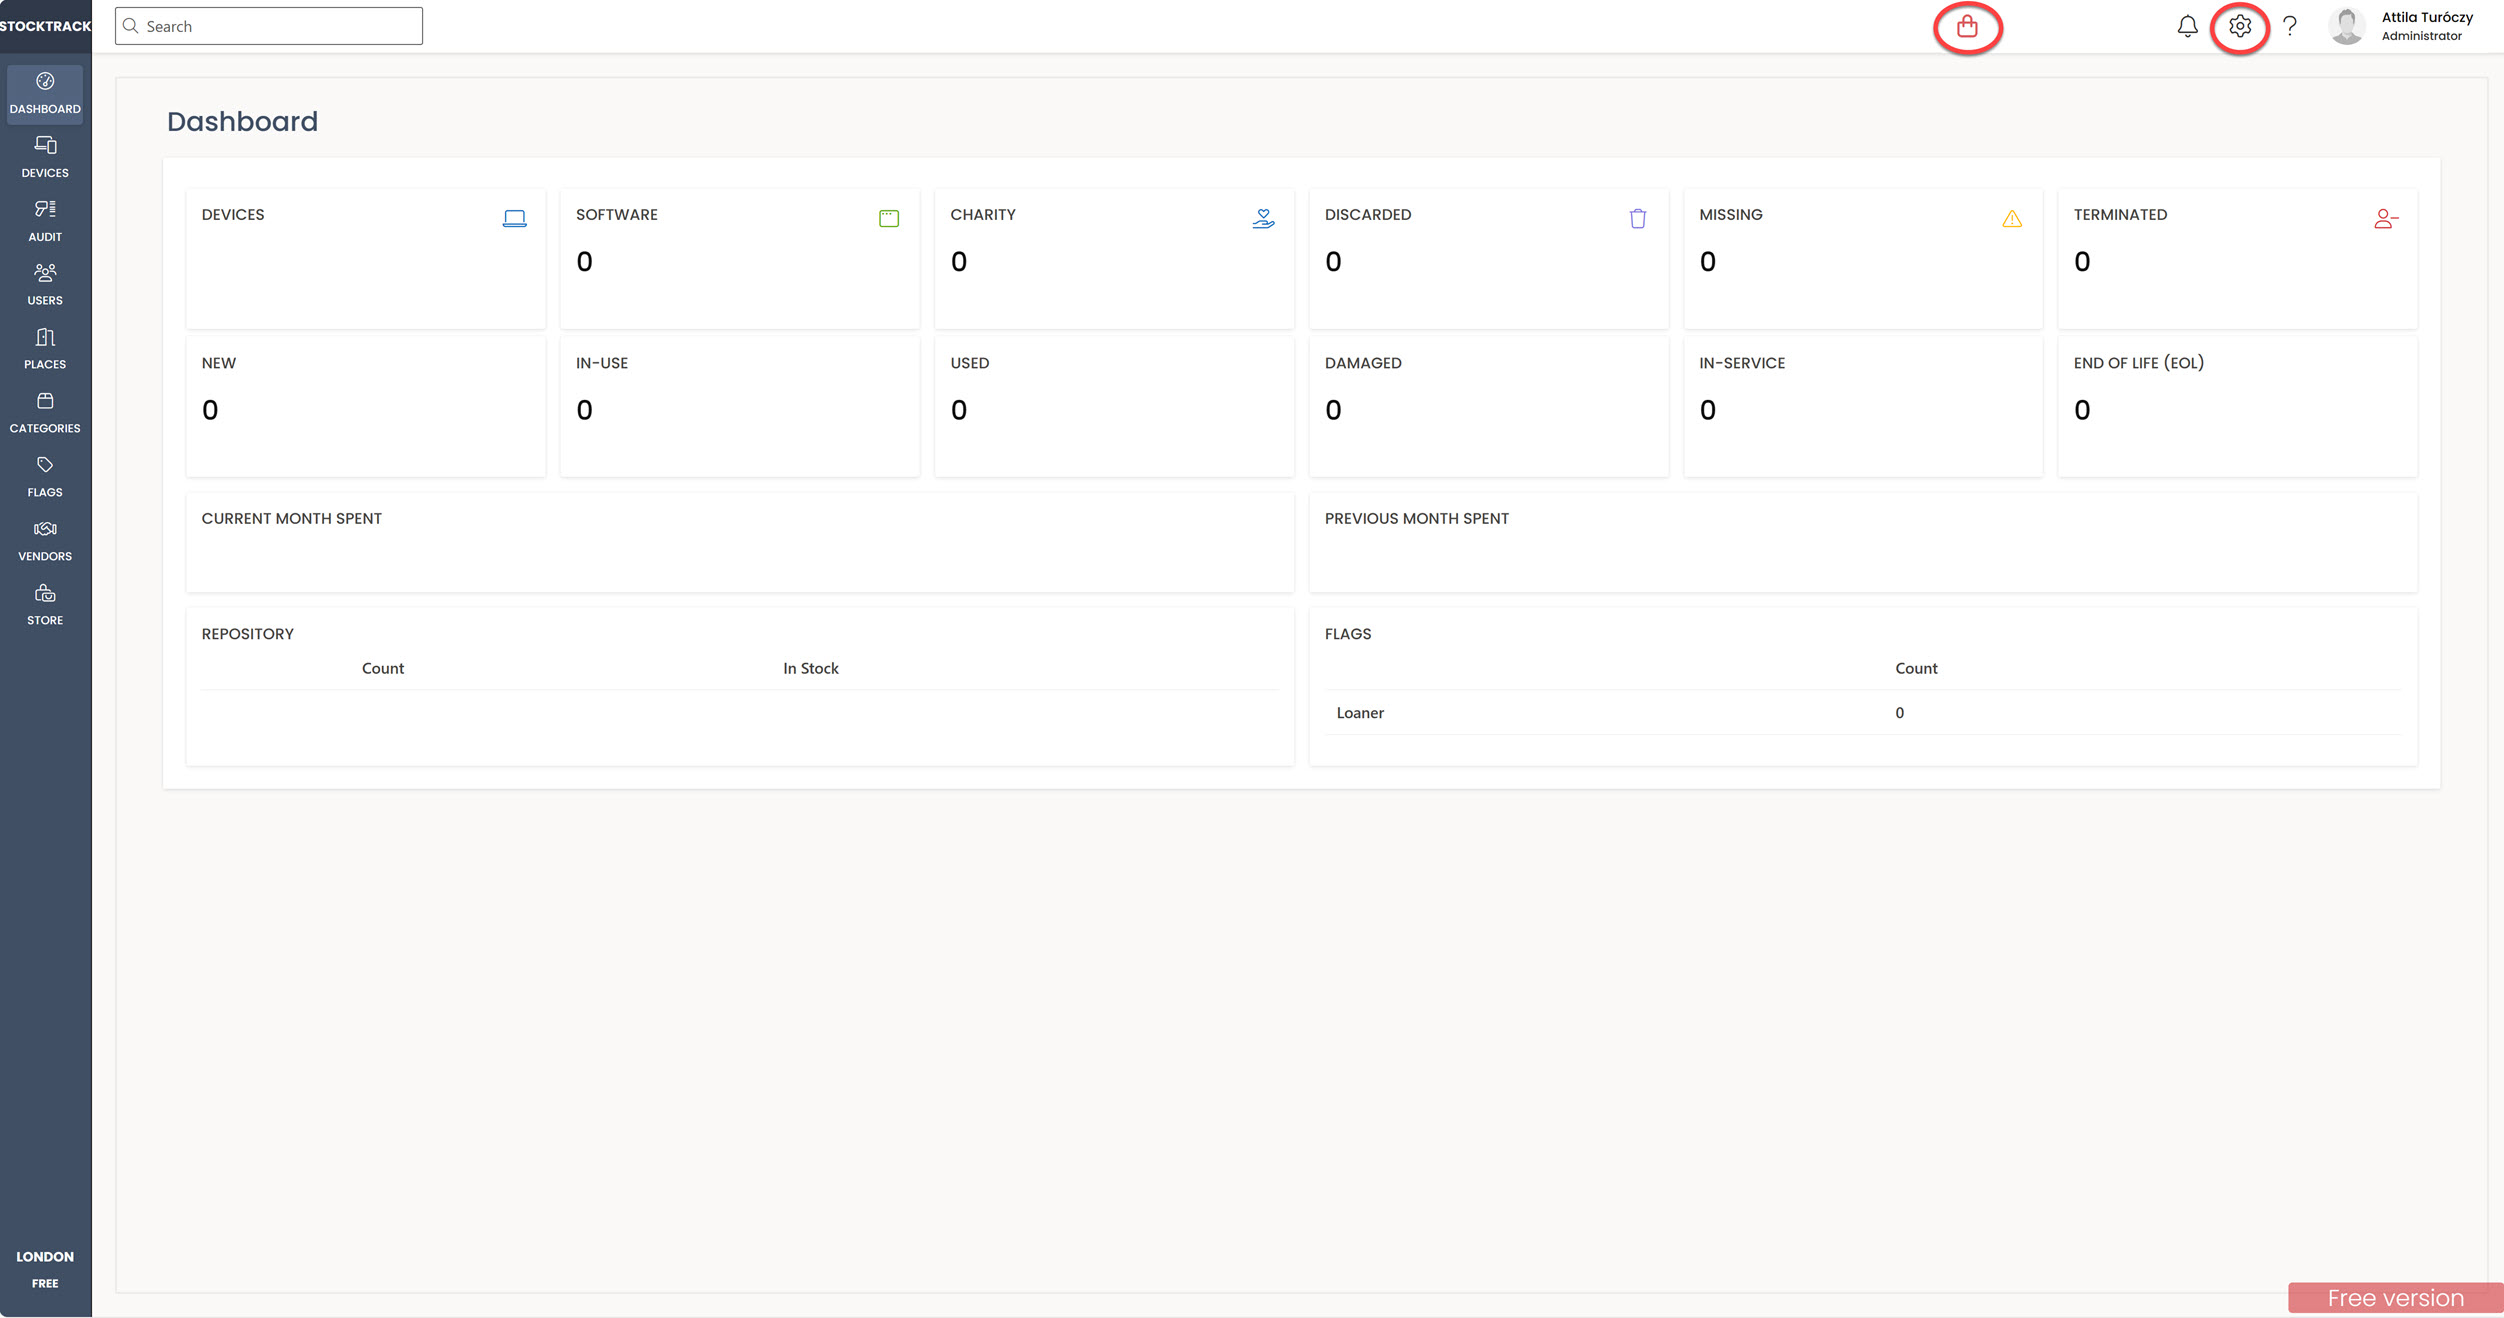
Step 4 — You're in
You land on the Dashboard. It's empty until you add devices — that's the next short stretch of work. The left sidebar gets you to every module; the top bar holds global search, the tenant switcher, notifications, and settings.
Your first tasks
Pick whichever of these you need. The order doesn't matter, but doing them in sequence gives you a complete-feeling setup in one sitting.
1. Add your first device
Devices → + Add Device. Enter a name, pick a category, click Save. Everything else on the form is optional. Full guide →
2. Or import many at once
Settings → Import. Download the Excel template, fill in your existing inventory, and upload. The importer previews the result so you can catch typos before they land in the database. Full guide →
3. Sync your users
If you signed in with SSO, open Users and click Sync Users to pull your colleagues in from Microsoft Entra or Google Workspace. After this, devices can be assigned by name. Full guide →
4. Add your brand
Upload your logo under Settings → Branding. It appears in the app header and on every exported document. Full guide →
5. Check the Dashboard
Back on the Dashboard, the counters, Status Distribution donut, monthly-spend trend, and Assignment Coverage gauge now reflect real data.
Where to go from here
Once the basics are in place, follow the path that matches your role:
| Role | Start here |
|---|---|
| IT Admin | Device lifecycle · Warranty tracking · Inventory audits |
| Finance / Procurement | Invoice & Currency · Vendor management · Dashboard Monthly Spend Trend |
| Operations | Places · Tags · Tenants for multi-location setups |
| Security / Compliance | Microsoft Intune integration · Directory providers · Security overview |
| HR / People Ops | Employee self-service · Assignment notifications |
About the free plan
Every new tenant starts on the Free plan — no credit card, no countdown timer. The plan includes a generous per-tenant device allowance, shown as a counter in the top bar (e.g. 12/50). When you outgrow it:
- Click the Purchase icon in the top bar, or
- Open Settings → Tenants and upgrade the tier.
Professional and Enterprise unlock email notifications, custom branding, Intune and directory-provider integrations, and a few more things — the full comparison lives on the Tenants page.
Need help?
- Browse the rest of the documentation from the sidebar on the left.
- See Support for SLA details and response times.
- Email info@livesoft.hu — we read every message.
Welcome aboard.