Device Statuses
Status tracks where a device is in its lifecycle: New in stock, In-use with an employee, Damaged or In-Service during repair, and eventually Discarded or End of Life when it leaves your fleet. It's the field that drives the Dashboard counts, the Risk and Assignment-Coverage gauges, and the coloured badge on every tile and table row.
Why status matters
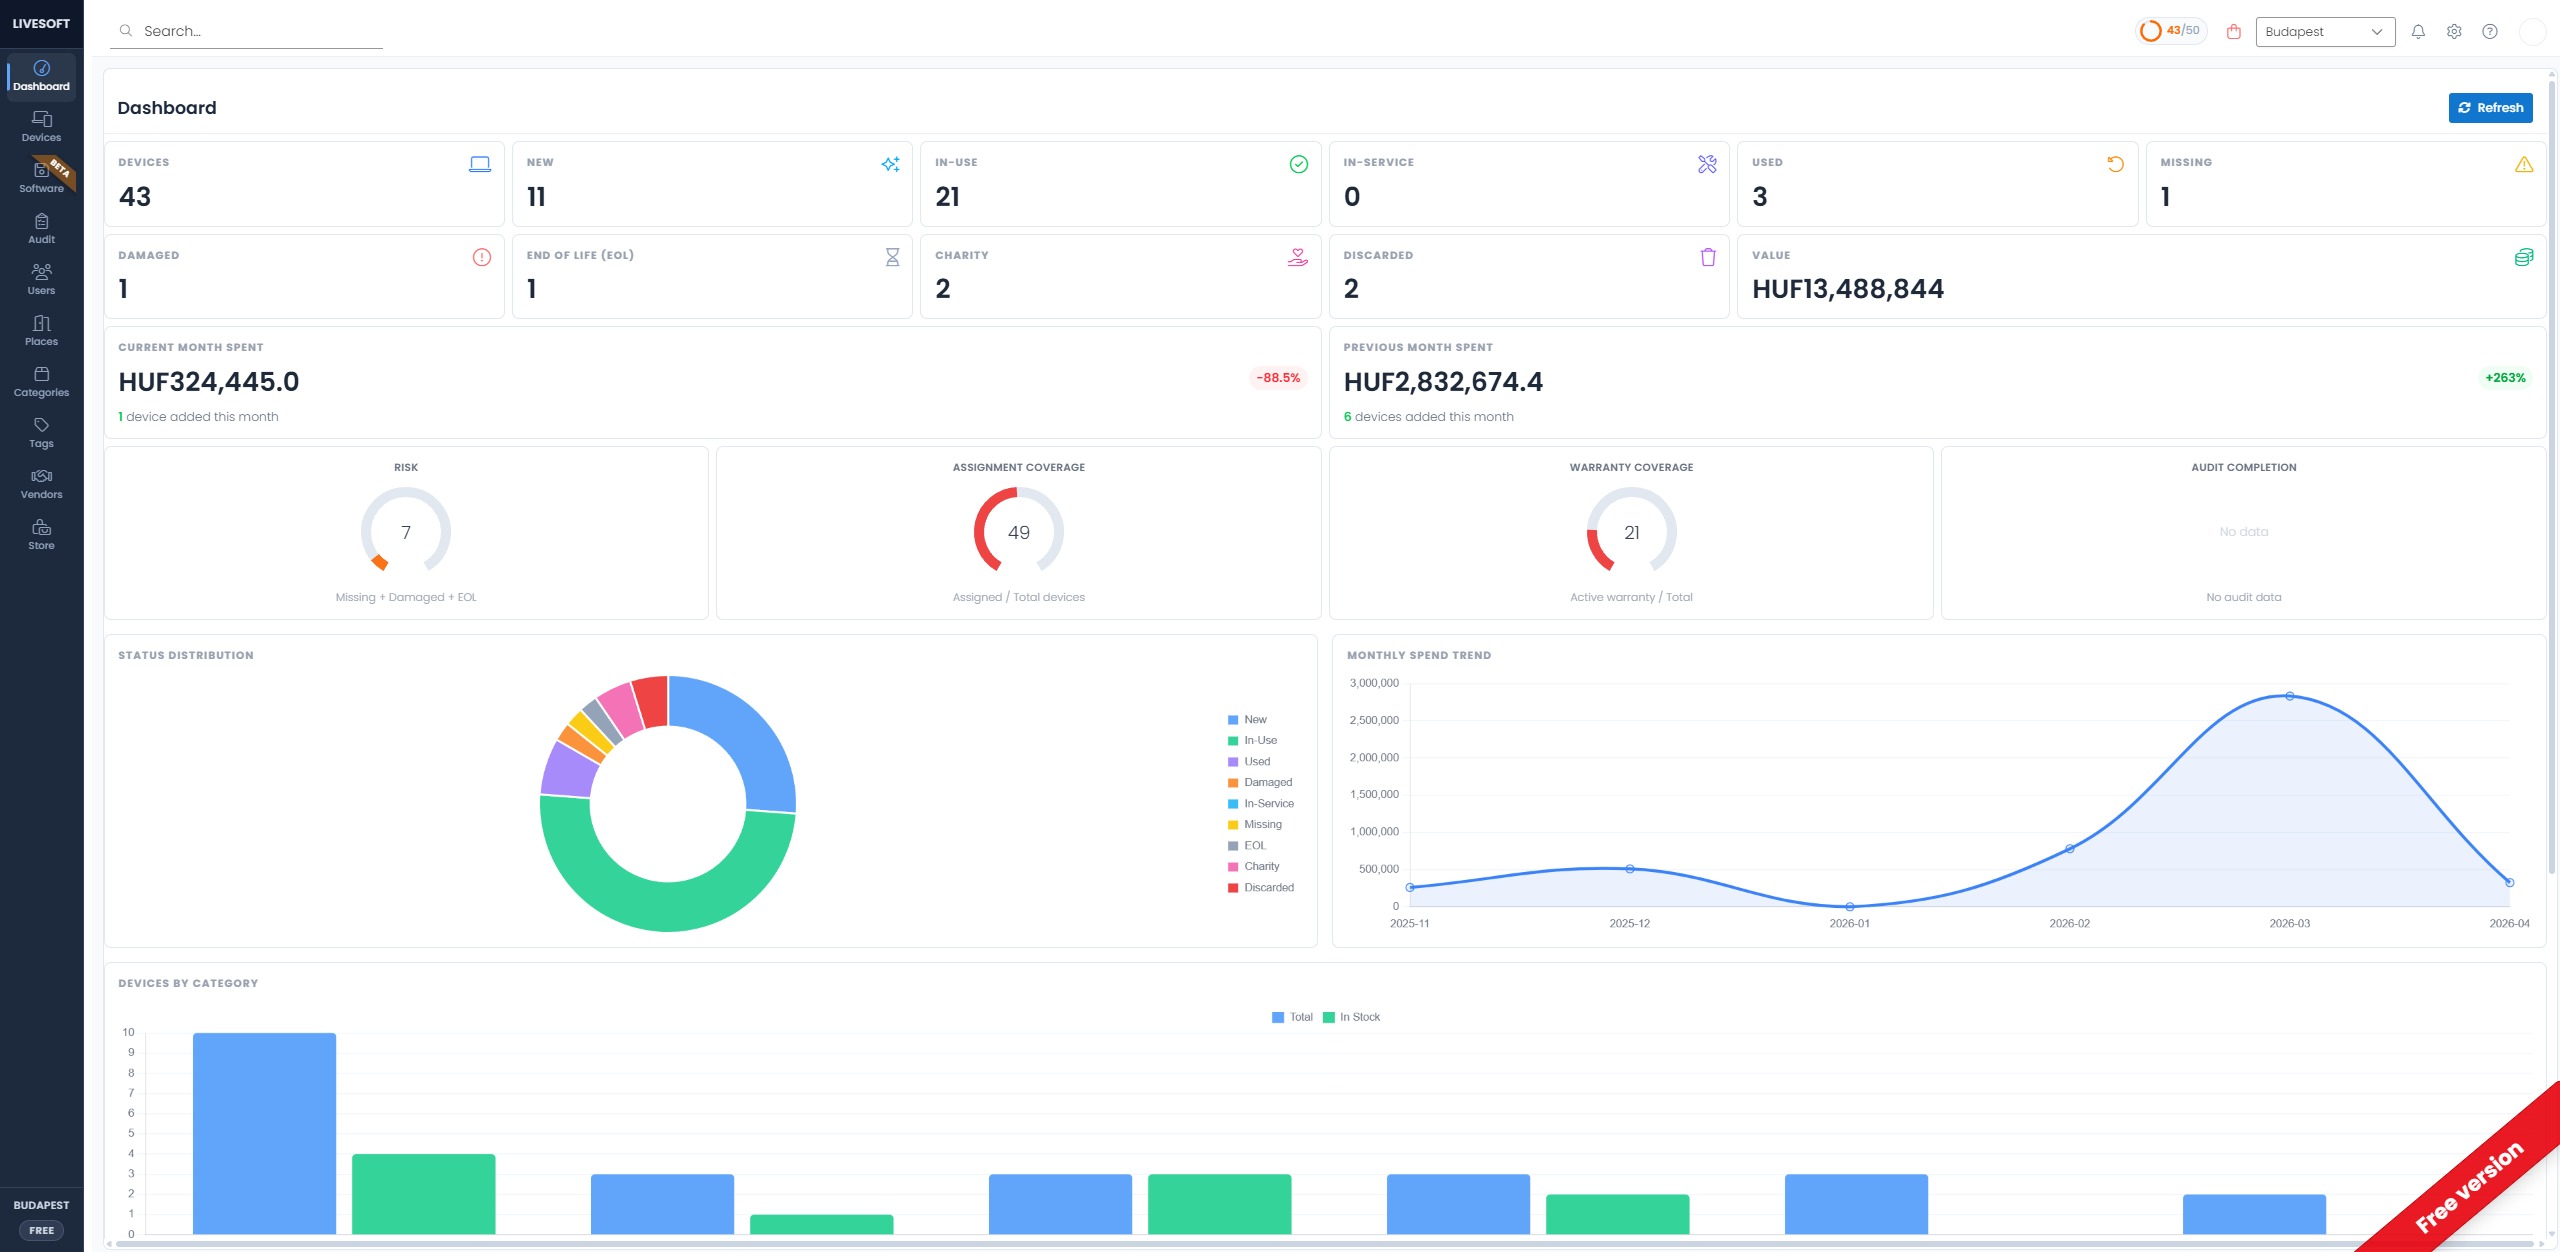
- Inventory health at a glance — the Dashboard counts devices by status and surfaces risky states (Missing, Damaged, EOL).
- Accurate lifecycle tracking — know which devices are deployed, in repair, or retired.
- Loss prevention — Missing and Damaged devices are immediately visible for follow-up.
- Compliance & audit — every status change is captured in the device history with the user, timestamp, and reason.
Available statuses
Each status has a distinct color used consistently across the app (tiles, list rows, charts, Dashboard).
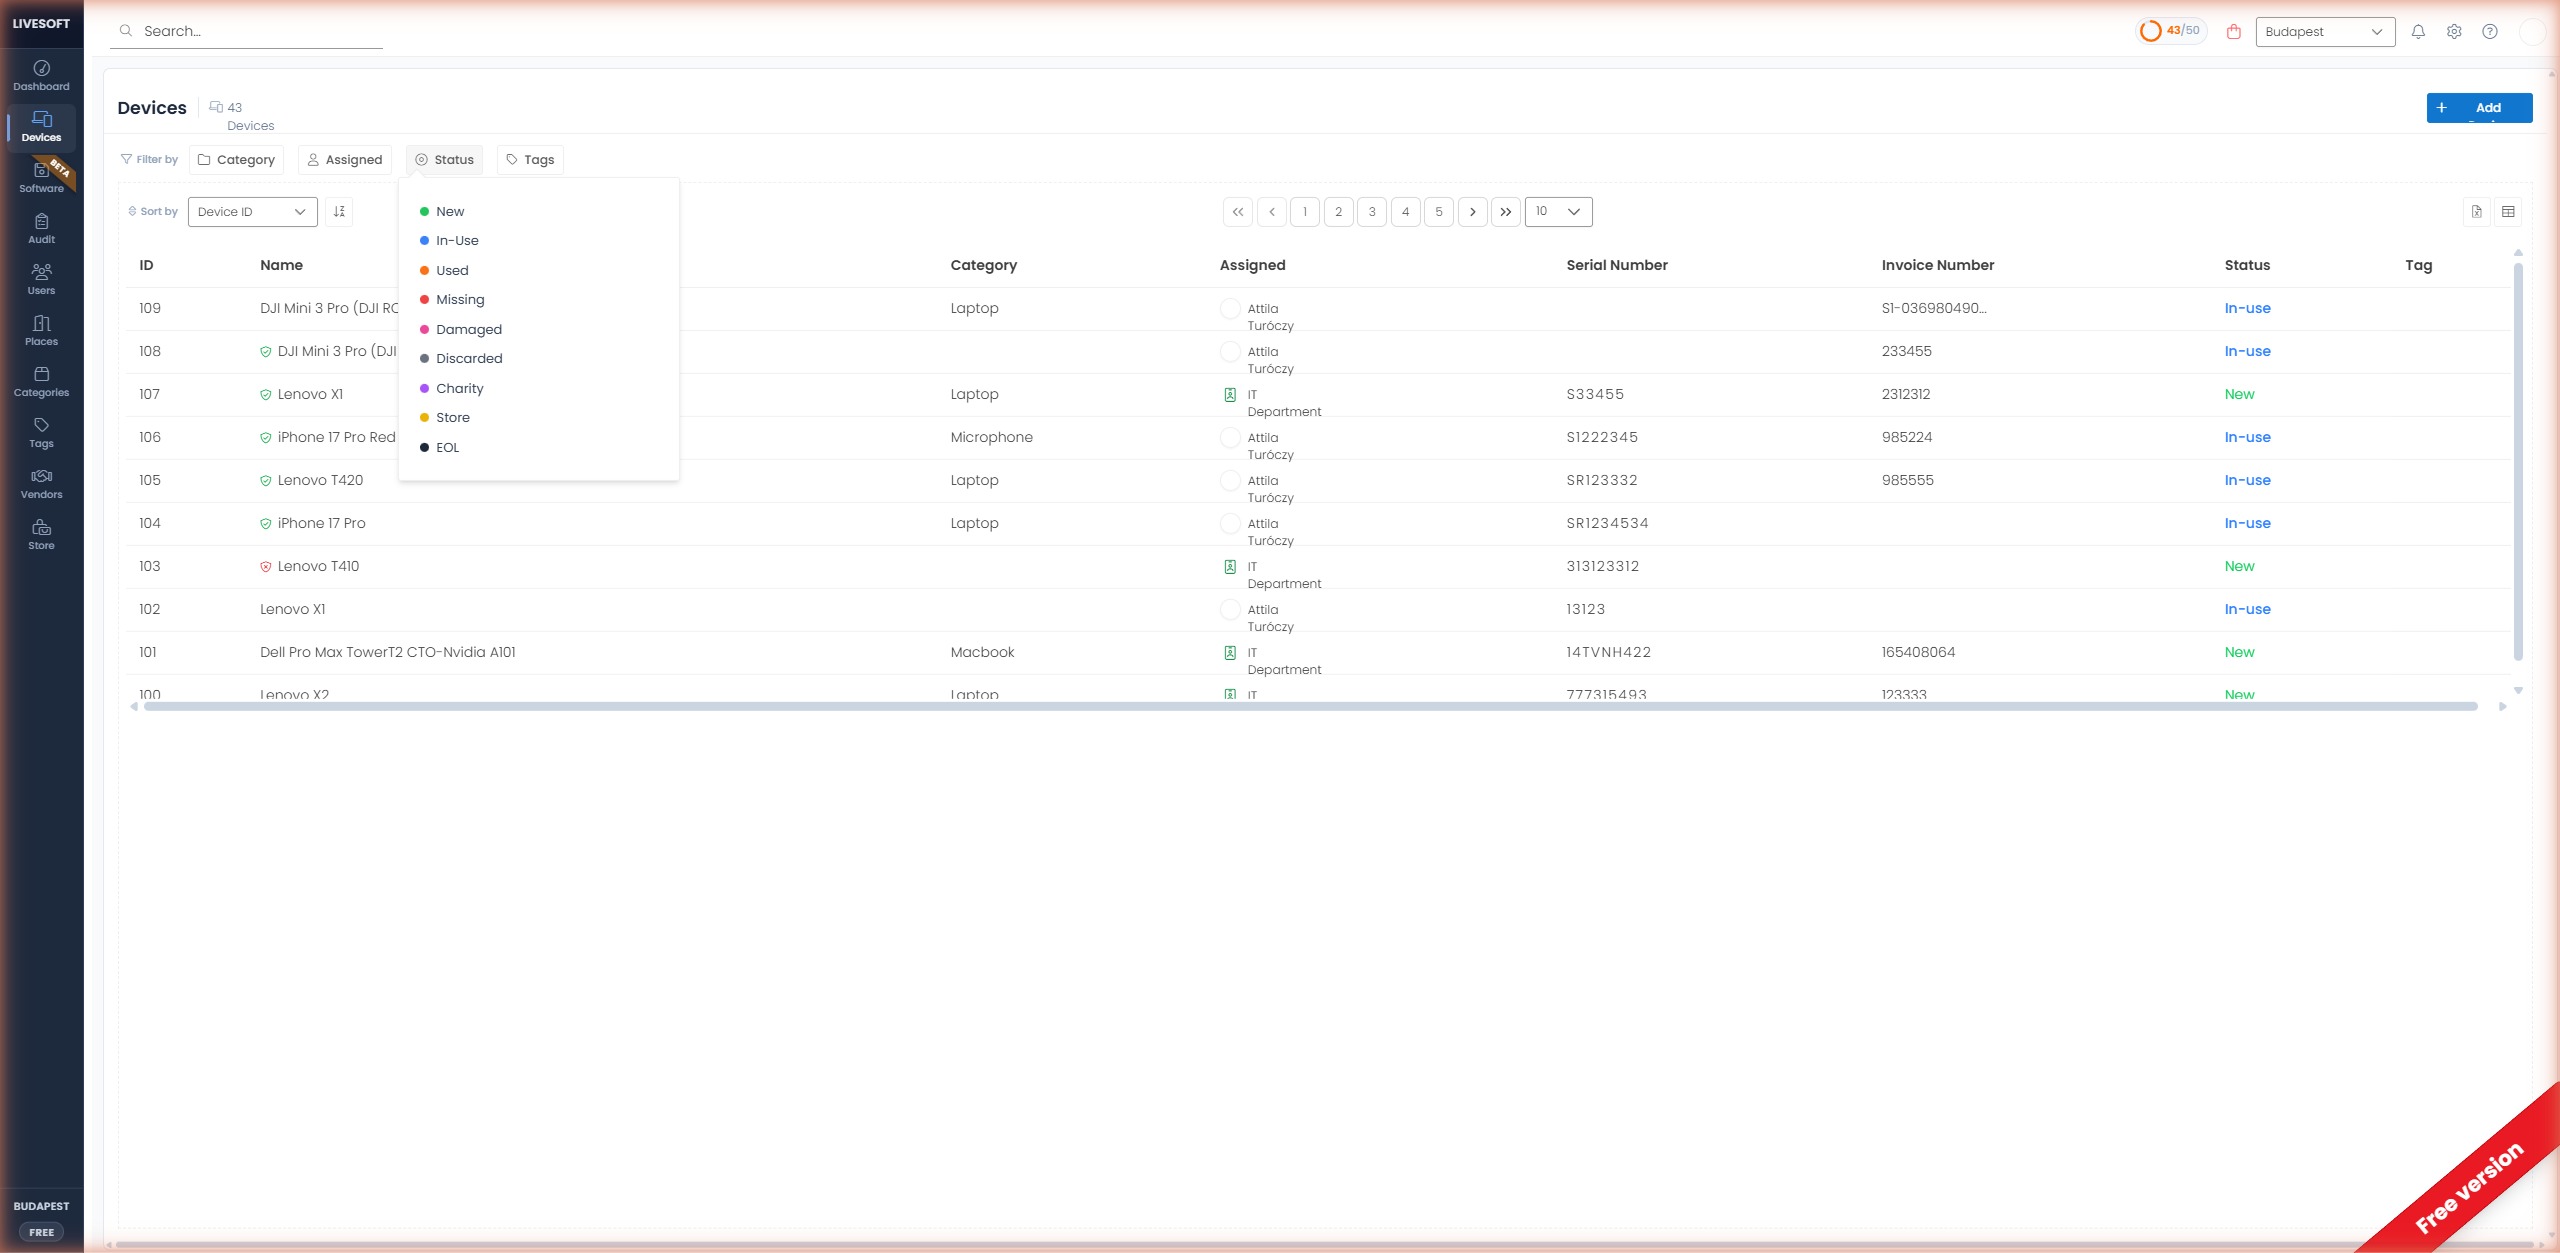
| Status | Color | When to use |
|---|---|---|
| New | Green | Device is freshly added and assigned to the IT Department (not yet deployed). |
| In-use | Blue | Device is currently assigned to an employee or a place. |
| In-Service | Teal | Device is under maintenance, repair, or vendor RMA. |
| Used | Orange | Device was deployed, returned to IT, and is available for reassignment. |
| Missing | Red | Location or current owner is unknown; requires investigation. |
| Damaged | Pink | Device has physical or functional damage. |
| Charity | Purple | Device has been donated and is no longer in company inventory. |
| Discarded | Grey | Device was scrapped or recycled. Kept in the app for audit purposes with strikethrough display. |
| EOL | Black | Device has reached end-of-life and is no longer supported. |
| Store | Yellow | Device is staged for a charity campaign / eStore. |
Automatic transitions
Some status changes happen automatically based on the assignment:
| Action | Automatic status update |
|---|---|
| Create device → assign to IT Department | New |
| Assign to an employee or place | In-use |
| Return to IT Department after use | Used |
You can always override the automatic status manually afterwards.
How to change a status
- Navigate to Devices and select the device.
- In the right-side information panel, click the Status row.
- Pick a new status from the dropdown.
- The change is saved automatically and appears in the device history.
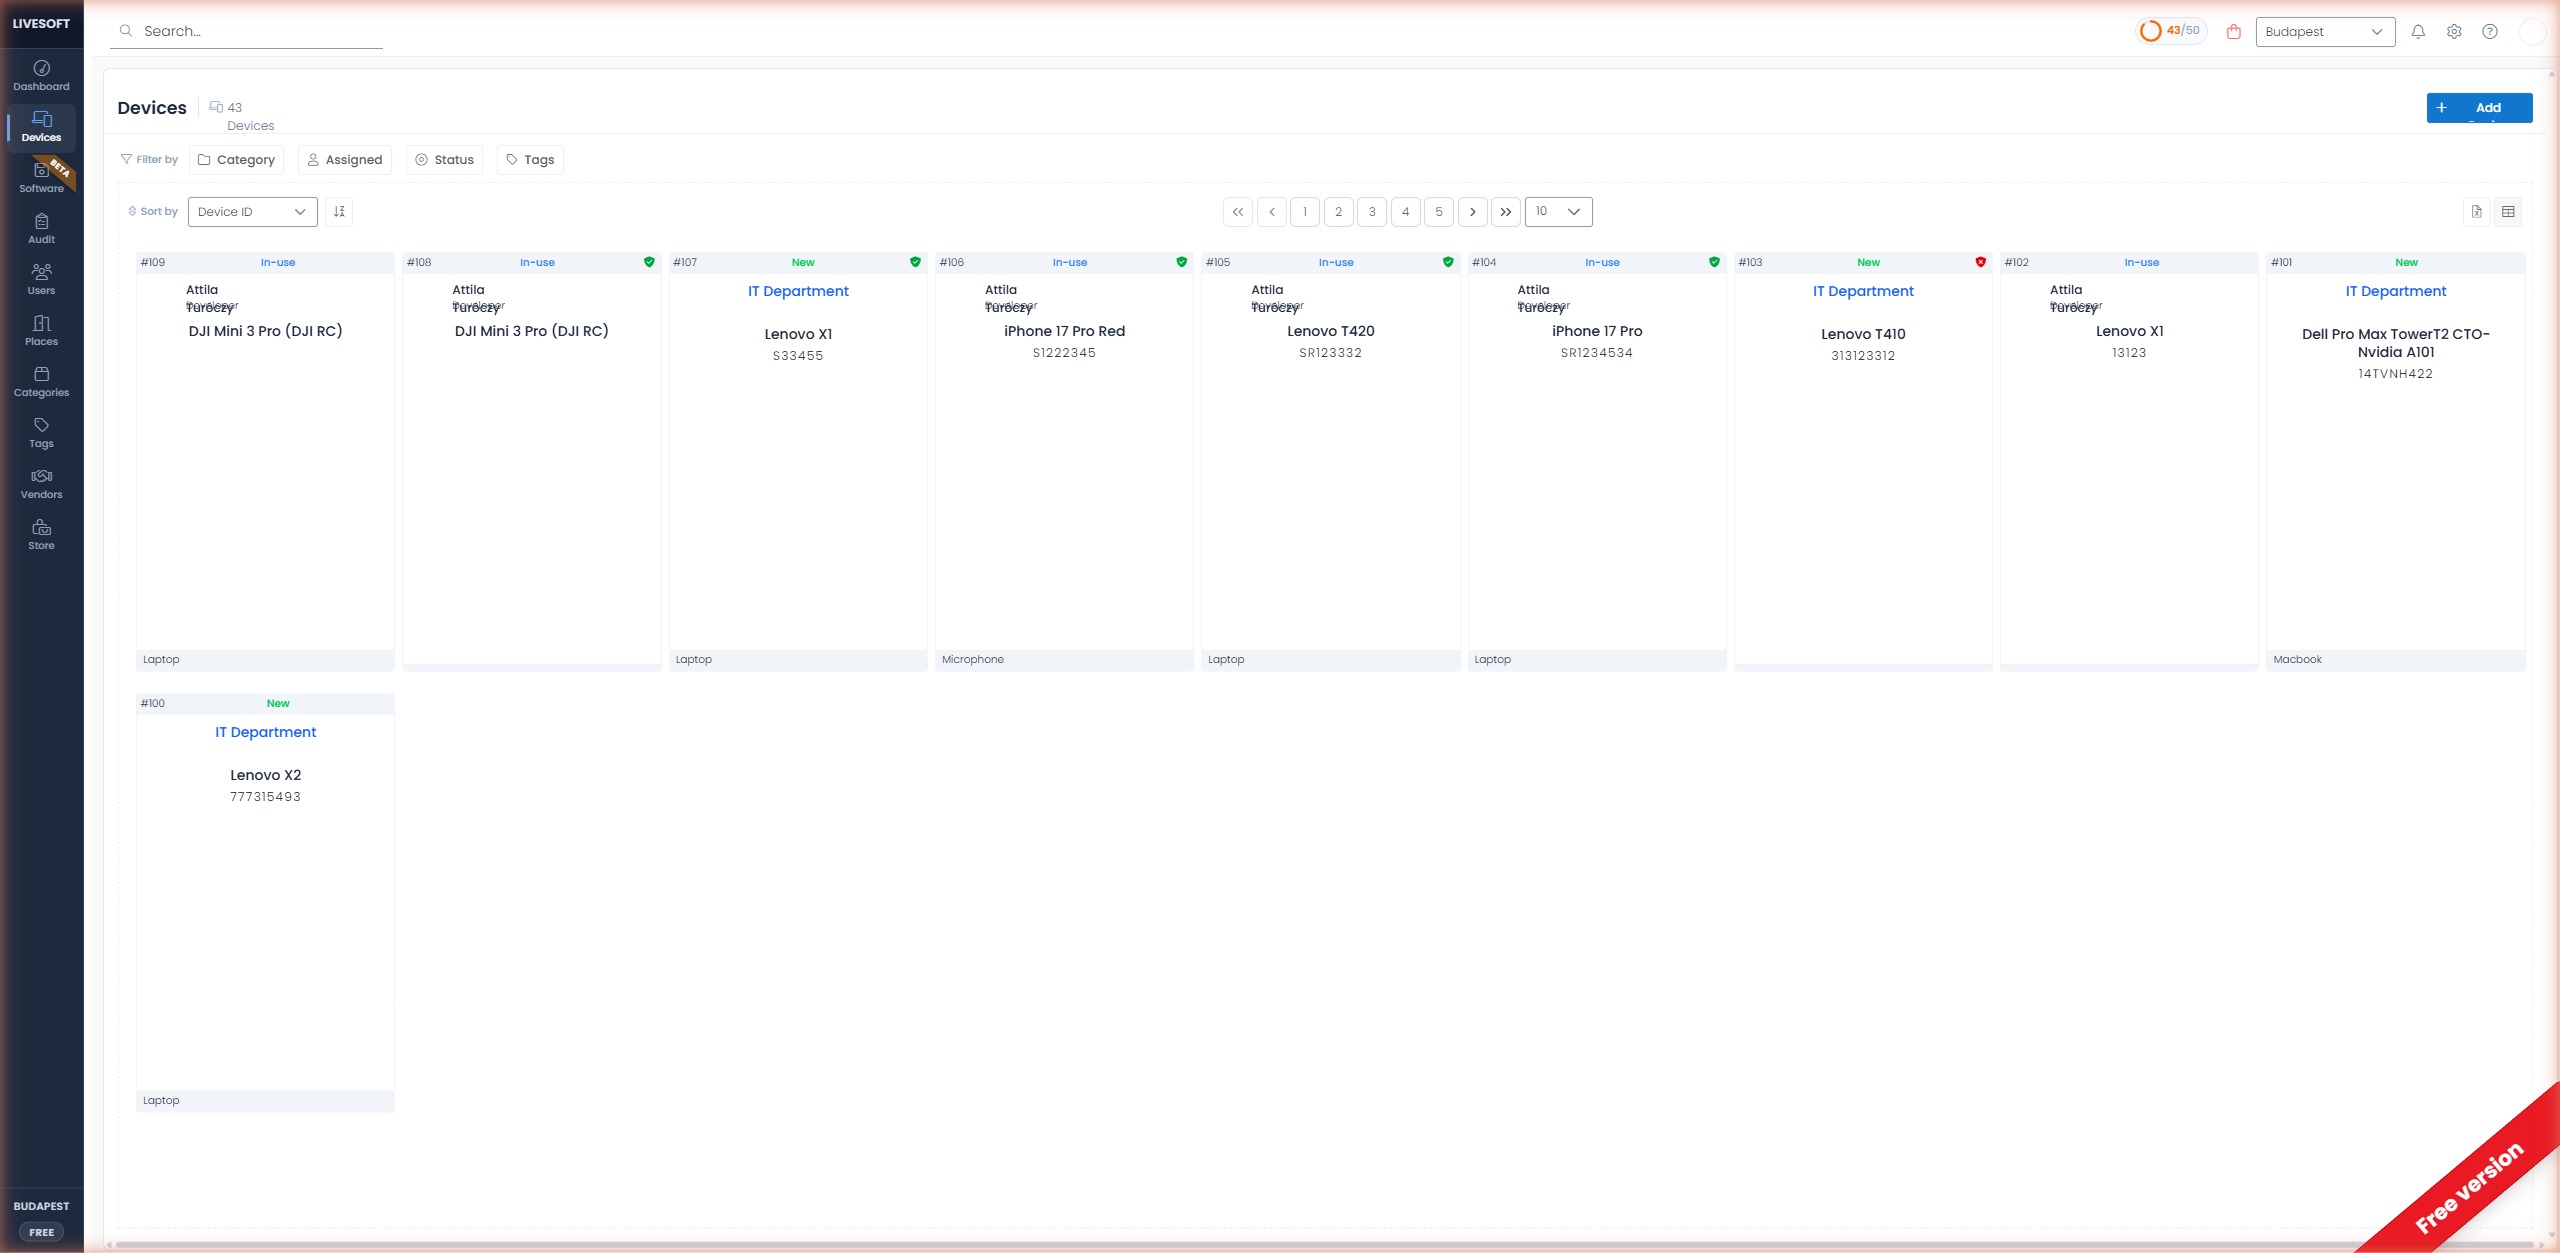
How statuses are displayed
Card view
The status badge appears centered at the top of each tile. Risk statuses (Missing, Discarded, Charity, EOL) are shown with a solid background for extra emphasis.
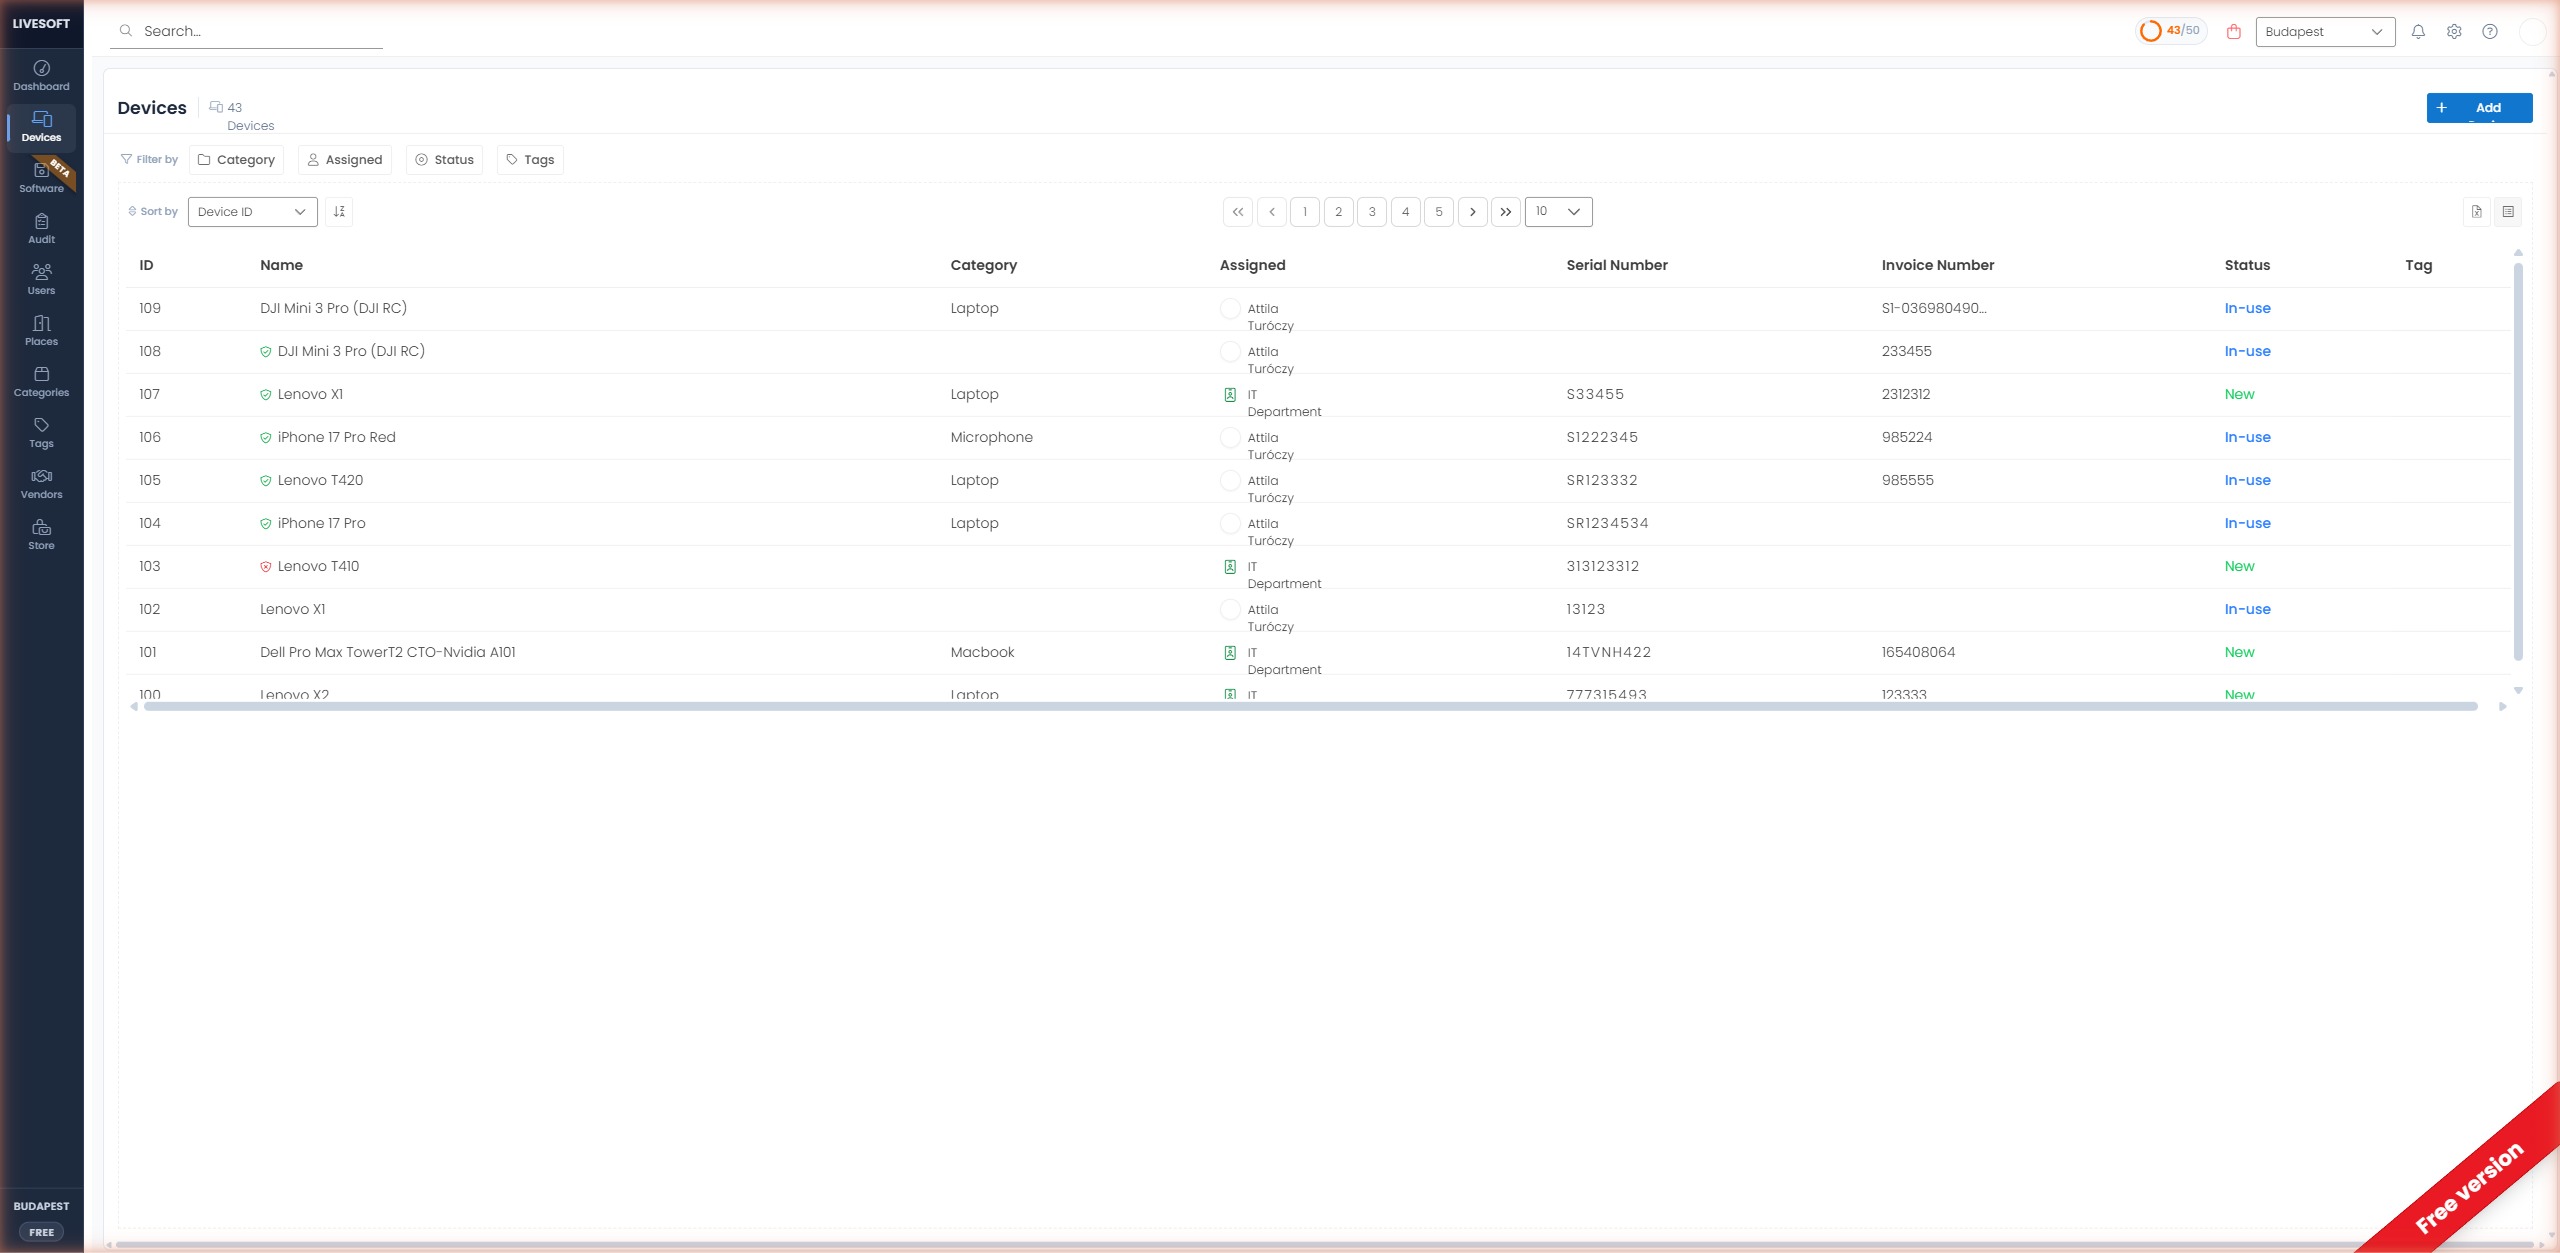
List view
The Status column uses colored text. Discarded devices are rendered with strikethrough to visually indicate they are retired.
Dashboard
The Dashboard shows a live count per status as tiles at the top of the page, plus a Status Distribution donut chart to visualize the overall mix.
Status + Audit workflow
During an inventory audit, statuses become the main tool for triaging issues:
- Employees using self-verify can flag a device as Damaged or Missing directly from their page.
- Administrators can bulk-update statuses from the audit results before closing the audit.
- The Audit Completion gauge on the Dashboard turns green only when every device in scope has been verified and has a non-problematic status.