Import
When you using the application as an administrator first time, you have the convenient option to import your existing inventory. This allows you to efficiently migrate your current inventory data into the application, saving you time and effort in manual data entry.
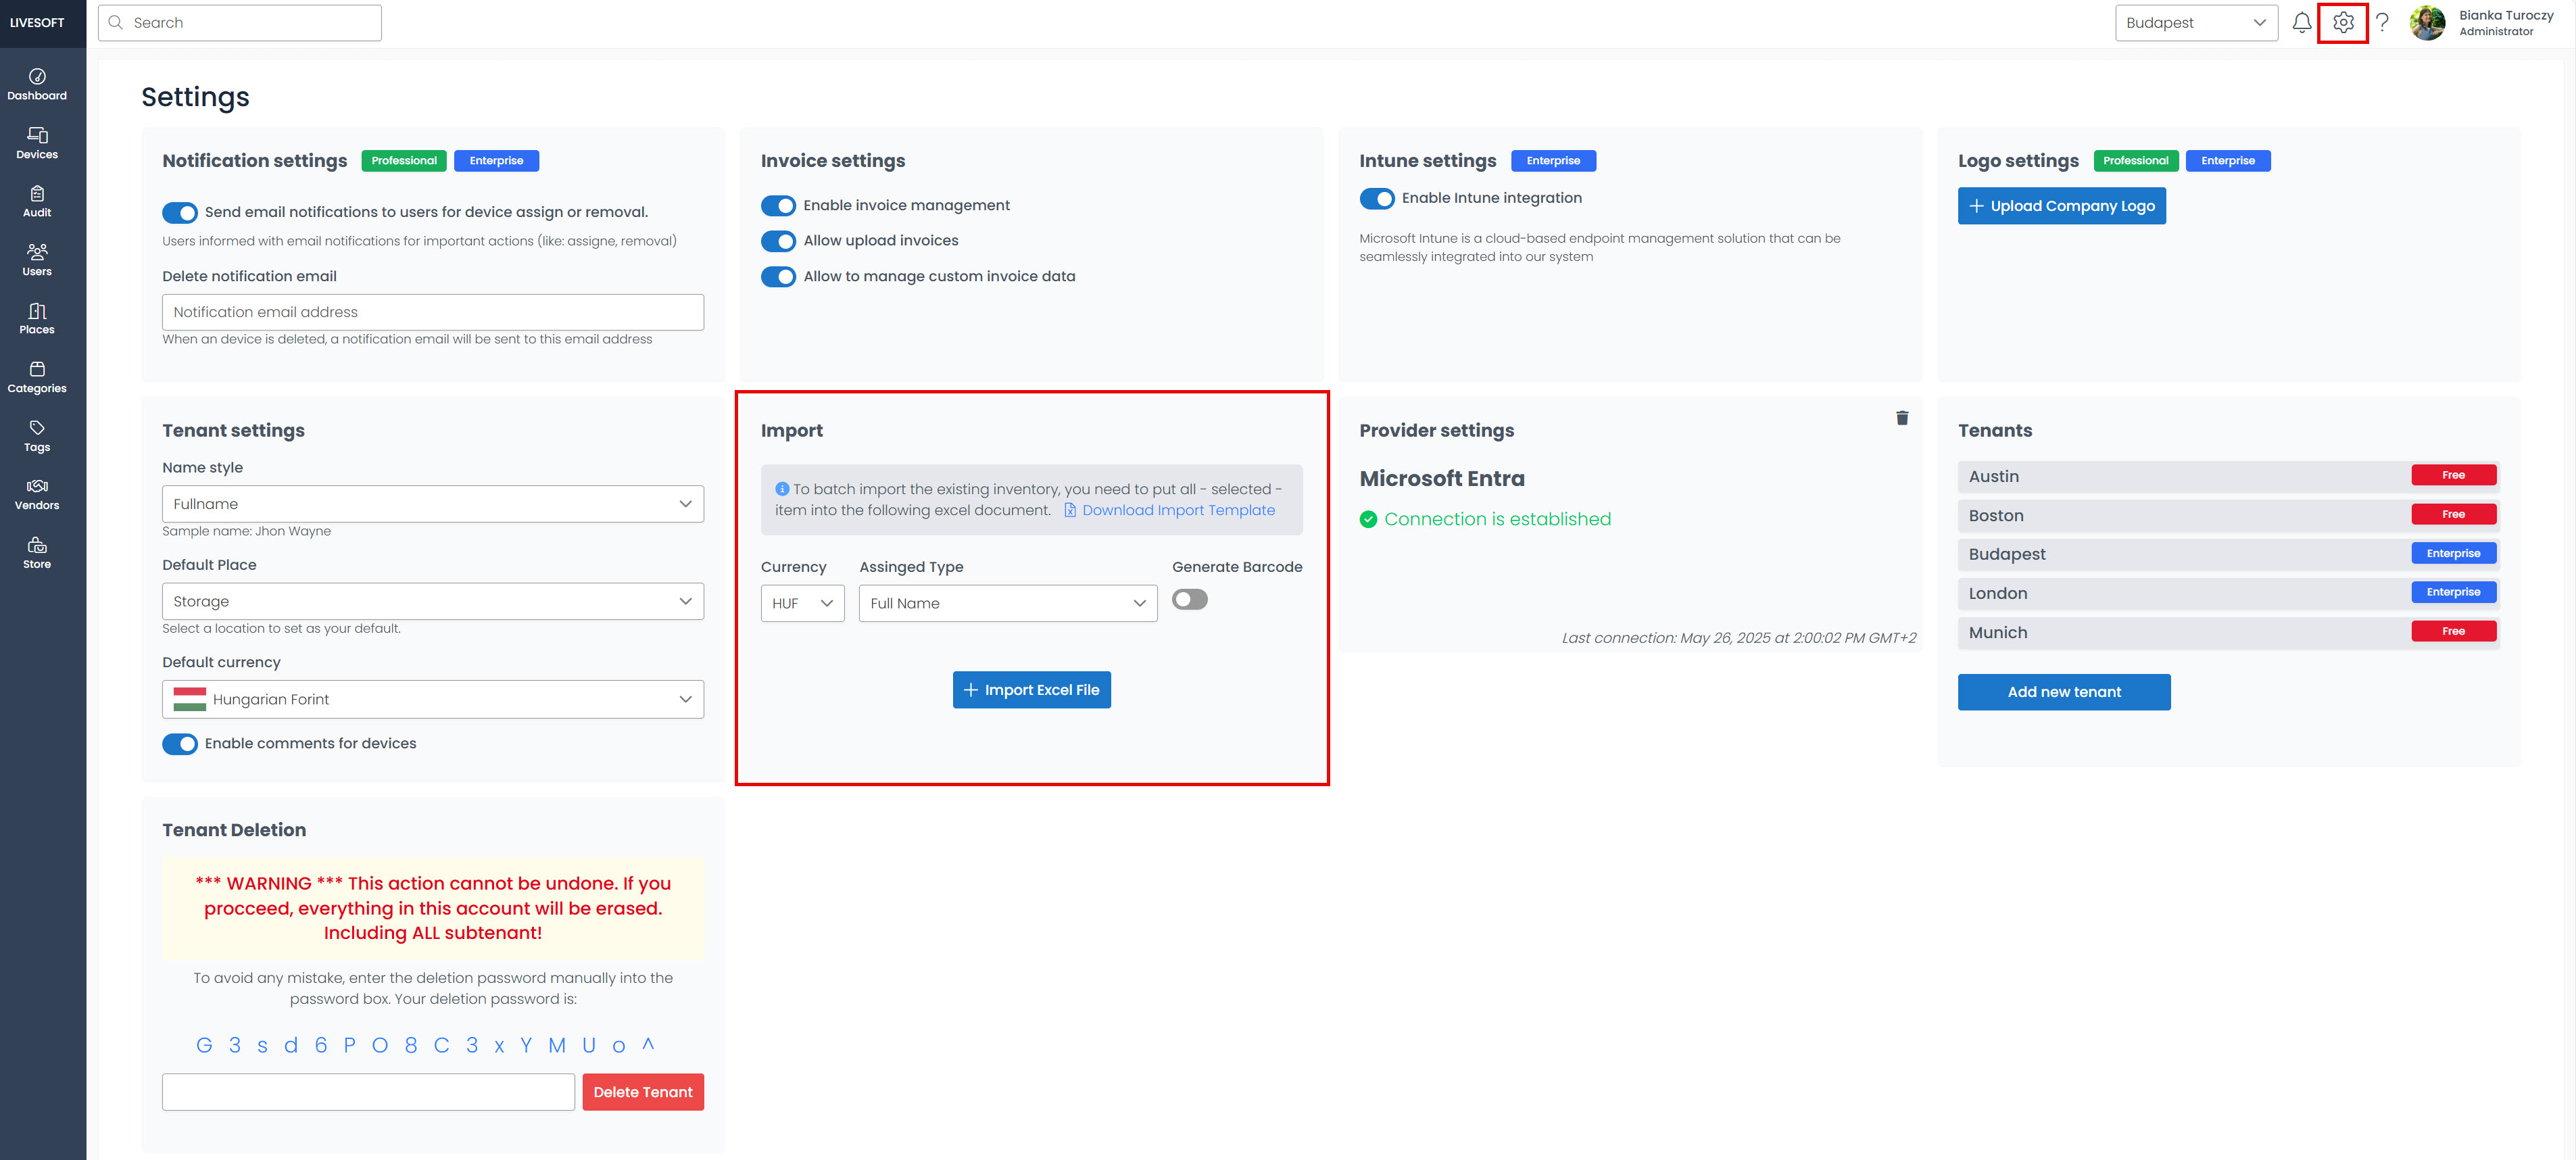
Navigate to the Settings menu and find the Import block.

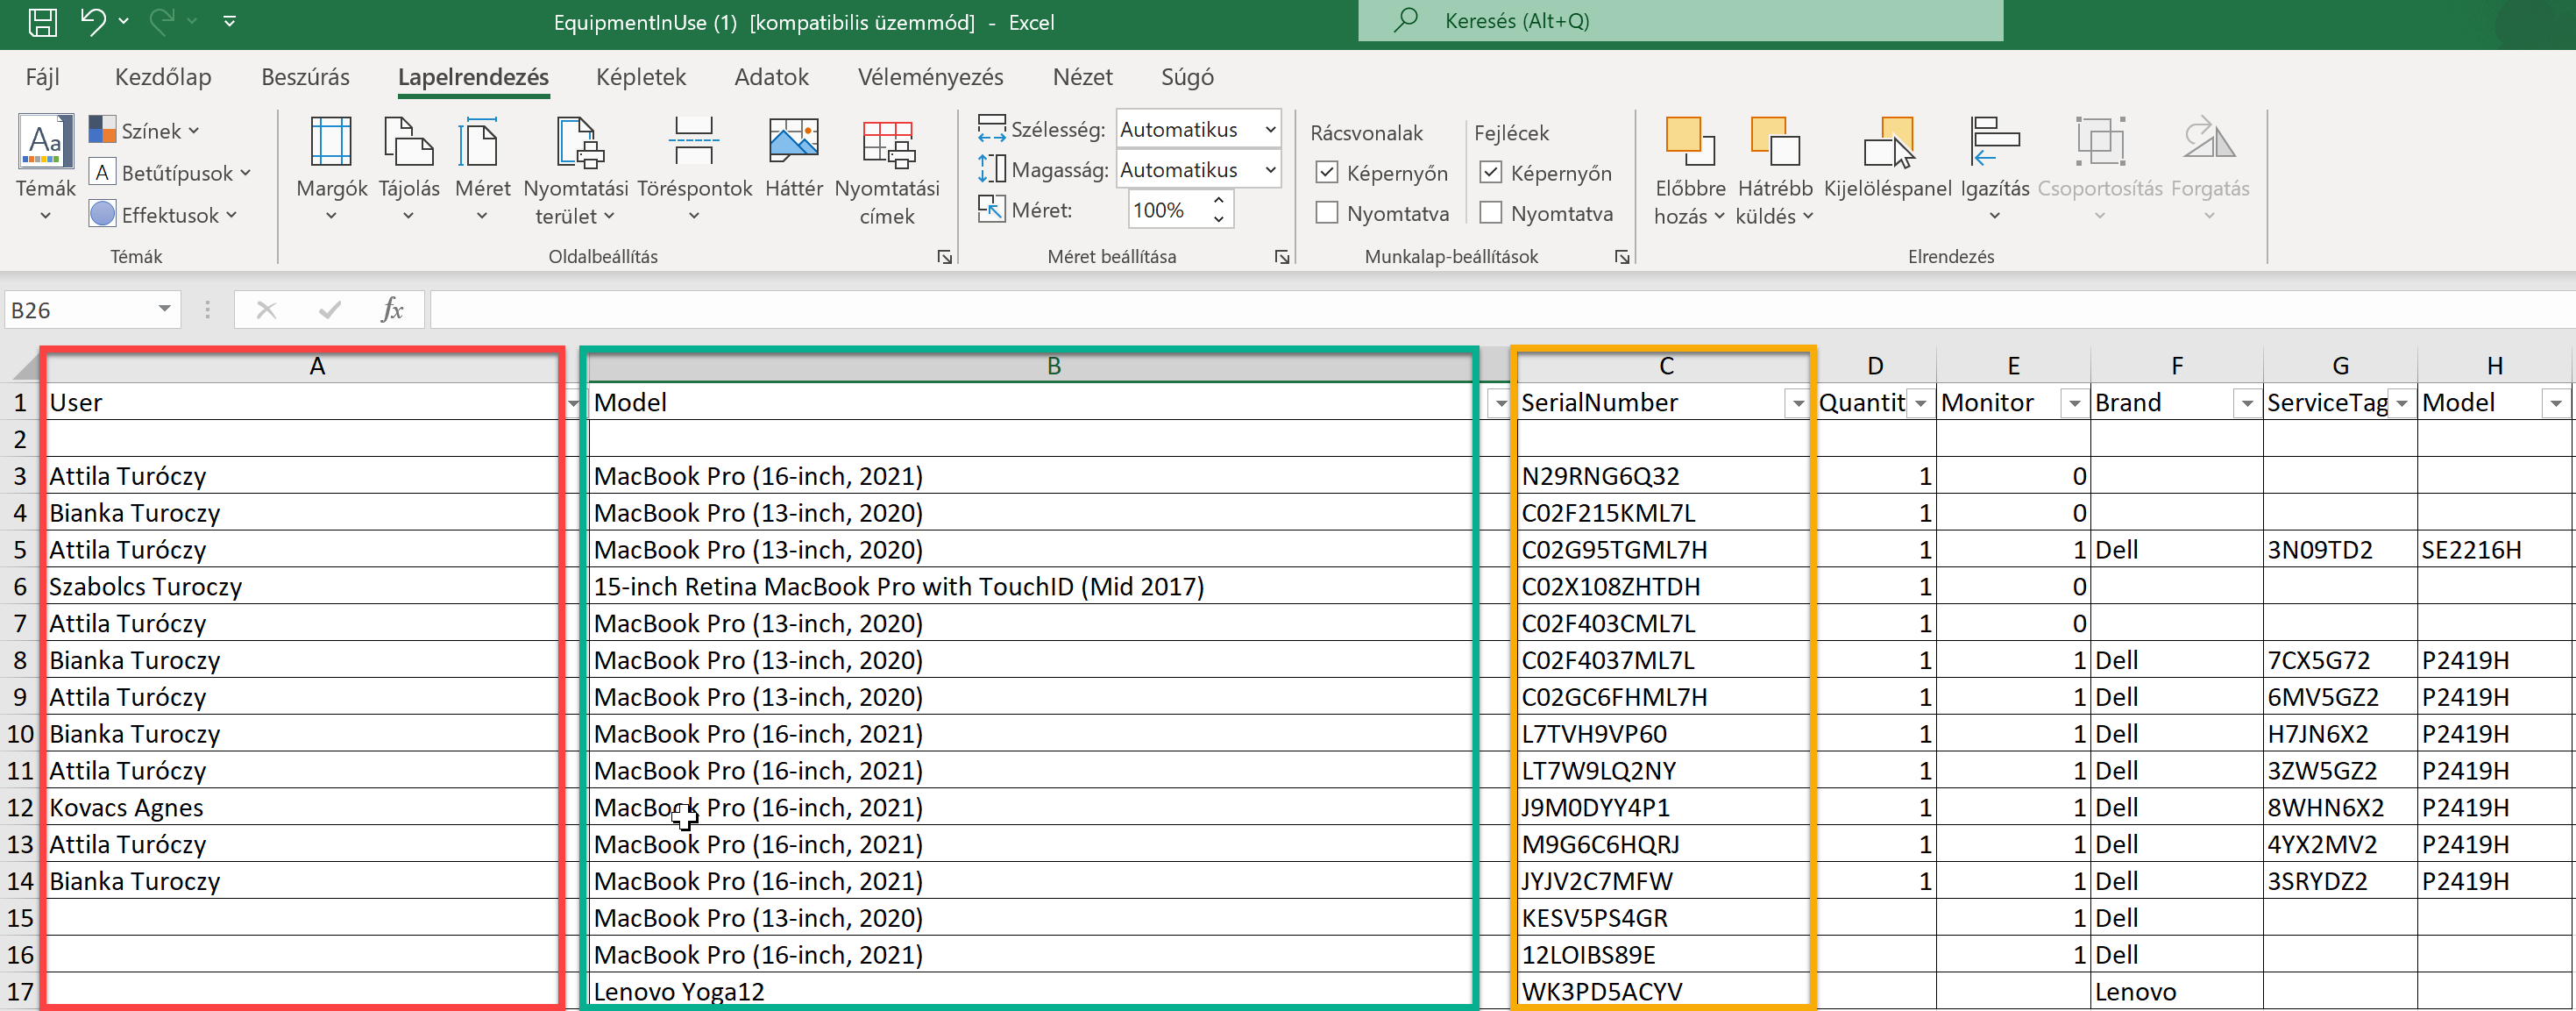
To prepare for importing your existing items, download the Import Template Excel document by clicking on the Download Import Template button. This template serves as a structured format for transferring your inventory data. You can either manually input your data or copy it from your previous Excel inventory into the provided fields of the template. Once you have filled the template with your inventory data, save the Excel document to your local files for easy access during the import process.


Product name: Enter or copy the name of the device. This field is mandatory.
Serial number: Enter or copy the serial number of the device.
Category: Specify the category name of the device.
Barcode: Enter the barcode of the device, if applicable and the application will keep it.
Invoice number: Enter the invoice number associated with the device.
Price: Enter the price of the device.
Purchase date: Specify the date when the device was purchased, as mentioned in the invoice.
Vendor name: Enter the name of the partner vendor (other company) from where your company arranged the purchase of the device.
Assign type: Choose from the drop-down menu the assignment type for the device, such as IT, Employee, or Place. This field is mandatory.
Assigned: Specify the user for whom the device is assigned. Use their name, username, or email address. This field is mandatory.
Missing: Indicate "True" if the device is missing or its whereabouts are unknown.
Discarded: Indicate "True" if the company has already scrapped the device.
Charity: Indicate "True" if the company has donated the device to charity.
Meta and Flag columns will be supported later.
- From the dropdown menu, select the currency used by your company for the Price column in the template Excel.
- Choose the user name type from the dropdown menu. You can select between full name, email, or user name as the format for user names.
- The application provides the option to generate barcodes for the devices during the import process. If you prefer to use your own barcodes, you can disable the switch button. If you have already entered the barcode for a device in the template Excel, the application will use that value instead of generating a new barcode.
- Click the Import Excel file button to locate and select the completed import template. The application displays a preview of how the data appears in the new inventory. Users not listed in the company’s user list are highlighted in red during the import process.
- Click the Import to inventory button to initiate the data import process. The application will import the data and display it in the new inventory.