Tenants
Tenants provide a logical separation for devices within your organization. Found under Settings → Organization → Tenants.
Why Use Tenants?
Tenants let you organize inventory by any criteria that fits your business:
- By location — e.g. Boston, Berlin, Bangalore.
- By department — e.g. HR, Engineering, IT.
- By business unit — e.g. subsidiaries, regions.
Each tenant has its own categories, places, tags, vendors, and settings. The user directory is shared across all tenants.
Create a New Tenant
- Go to Settings → Organization → Tenants.
- Click Add New Tenant.
- Enter a unique tenant name.
- Click Create.
The new tenant appears in the list with a Free badge. Each tenant is free for the first 30 days.
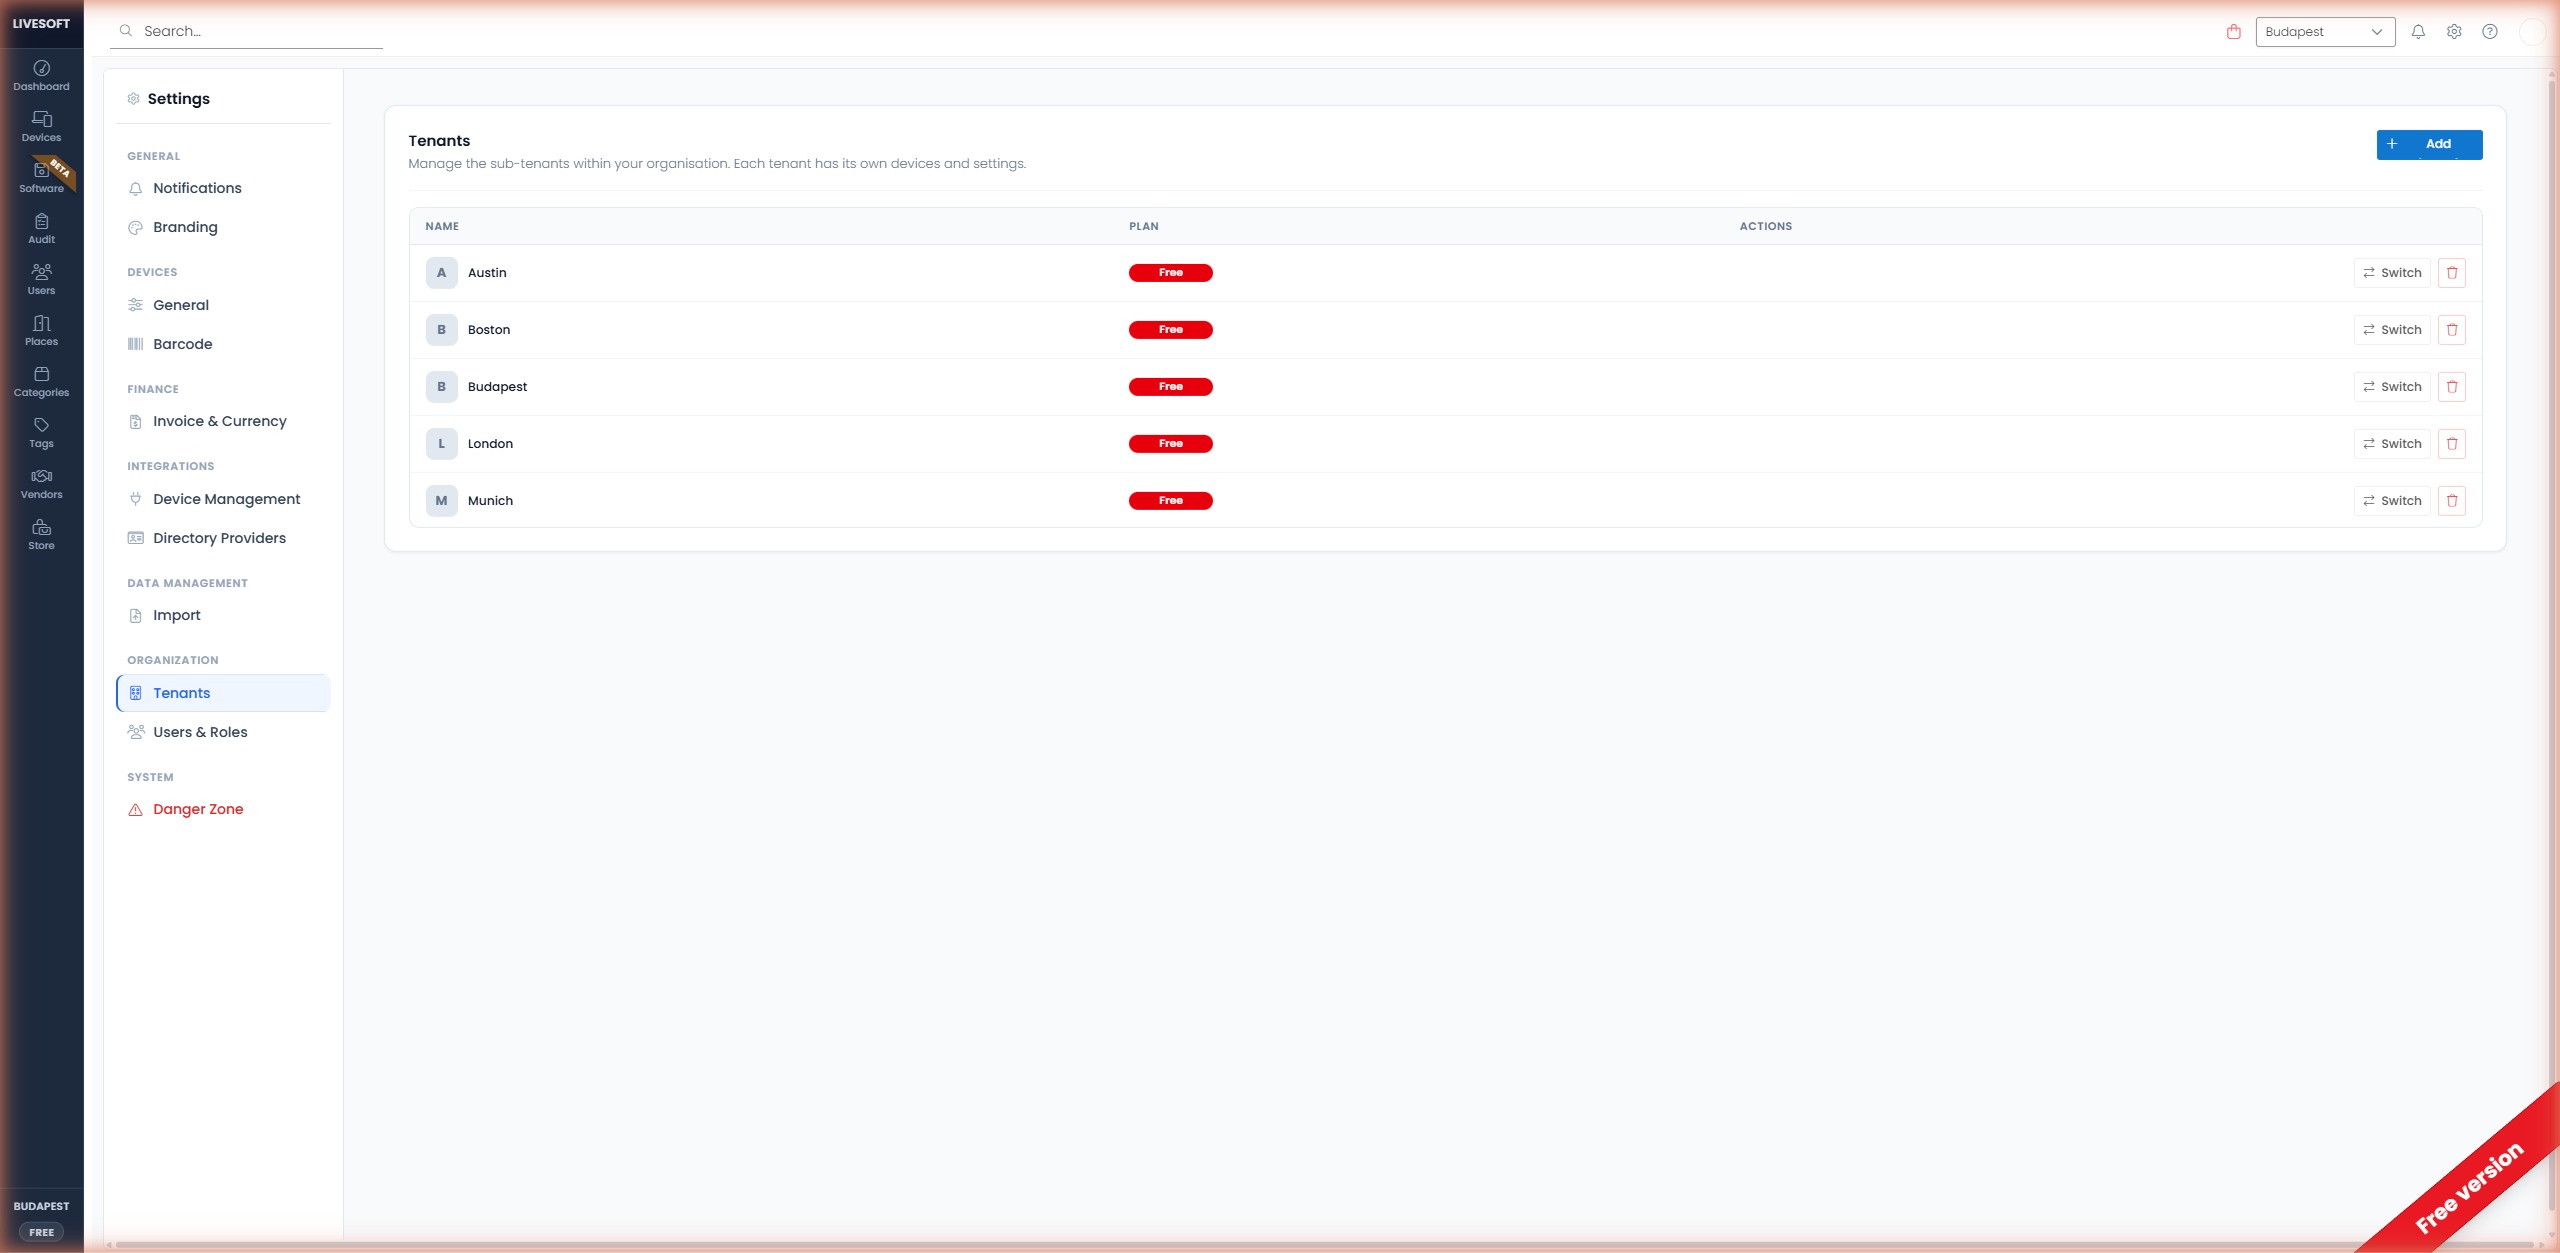
Tenant List
The Tenants panel displays all tenants in your organization along with their subscription tier (Free, Professional, or Enterprise).
Switch Between Tenants
- From the top navigation — Use the tenant dropdown in the top-right corner of the navigation bar.
- From Settings — Click a tenant in the Tenants list to switch into it.
Subscription
Each tenant requires its own subscription after the 30-day free period. To subscribe:
- Click your subscription tier badge at the bottom of the sidebar.
- Review the Professional and Enterprise feature comparison.
- Enter your billing information and save.