General
Delete notification email
There is a field available where you can enter an email address. Whenever an item is deleted from the application, a notification will be sent to the specified email address.
This feature is primarily designed for auditing purposes. If you prefer not to receive audit emails, you can simply leave the email address field empty.


General input switches
Notification email for users
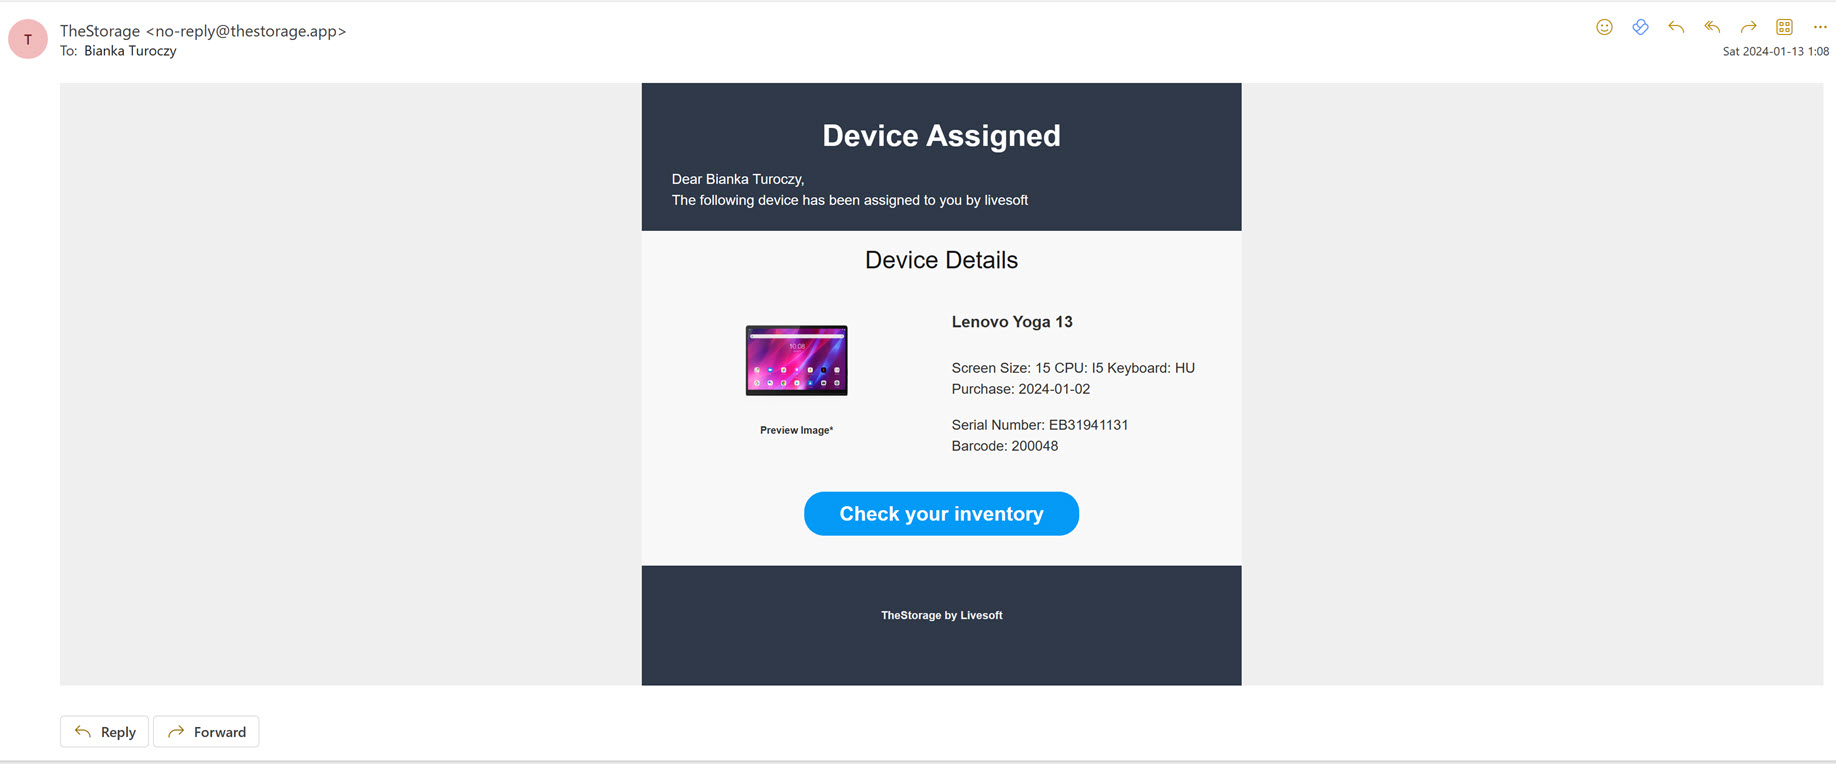
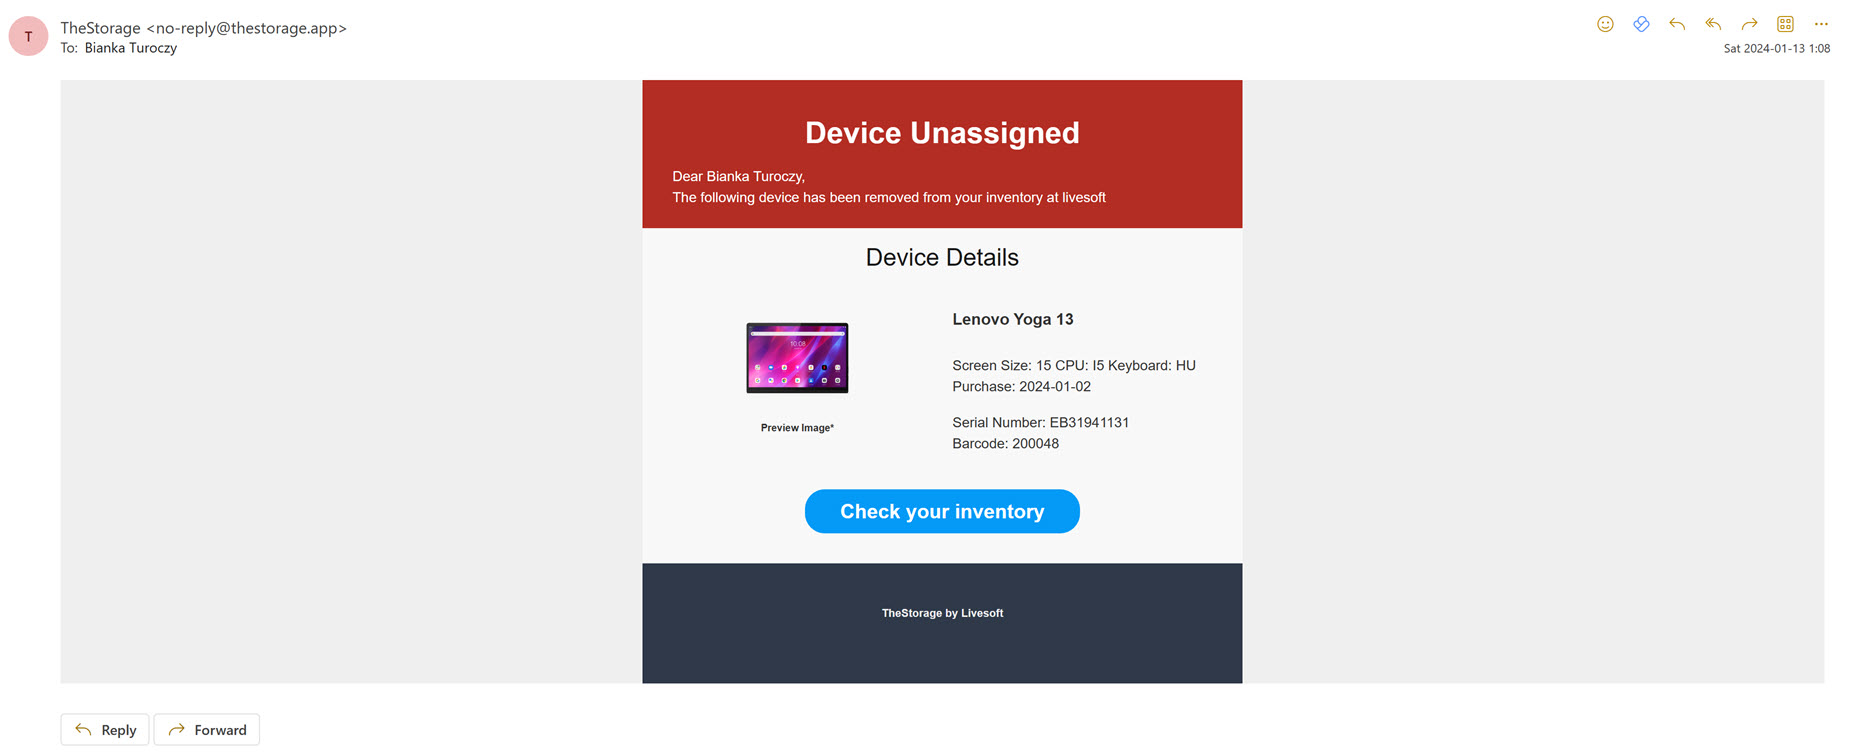
The first toggle switch is used to enable email notifications when a new item is received or removed from a user. By turning on this toggle switch, you can activate this feature and start receiving email notifications for such events.


Ensure for possibility to create comments
Enabling this toggle switch will enable a comment section on the Add device page, allowing you to add a comment when adding a new device. The comment section will only be visible when the Enable to add comment for devices setting is turned on. Disabling this setting will not delete any previously added comments.

Invoice settings
Enable Invoice management
Enabling this toggle switch will display an invoice section on the Add device page and Edit device page, where you can enter the invoice number, invoice date and vendor information when adding or edit a device. The invoice section will only appear when the Enable invoice management setting is turned on. Disabling this setting will not delete any previously added invoice data.

Enable Invoice Upload
The purpose of this toggle switch is to enable invoice uploads. When the Enable invoice management and Allow upload invoices switches are turned on, the Upload Invoice button will be displayed on the right side panel of both the Add Device page and the Edit Device page.
To learn more about uploading invoices, you can click here for detailed information.
Allow to manage custom invoice data
When you turn on the Enable invoice management and the Allow to manage custom invoice data toggle switches, will display an Invoice data structure field on the Add device and Edit device page, between the invoice number and invoice date, within the Invoice block. This allows you to include any company-specific information or ID about the invoice when adding or edit a device.

Assign name style
Under this section, you have the option to choose the format in which the name appears in the application.
You can select from the following options in the drop-down menu:
Fullname: Jhon Wayne
Email address: jwayne@company.com
Username: jhon.wayne
Fullname and Username: Jhon Wayne - (jhon.wayne)

Default place
In this section, you can select the default place for newly added devices from the drop-down menu. You can choose from the places you have already created in Places menu. The application will automatically assign the selected default place to the new device.
Alternatively, you can choose the No Default Place option to turn off this feature.

Default currency
In this section, you can select the default currency from the drop-down menu.

You can choose from:

When adding a new device on the Add Device page or modifying information on the Edit Device page, you have the option to enter the device's properties, including its purchase price in the original currency. Additionally, the system will automatically convert and display the price in the currency selected in this setting as default. The converted price will be shown in blue letters underneath the original price.

Furthermore, on the Dashboard, where you can view the Current Month Spent and Previous Month Spent datas, these values will be displayed in the currency that you have set as the default in the settings.
